Quick Start - Storm Streaming Server
This guide will walk you through how to quickly install and configure Storm Streaming Server, and then successfully launch your first stream.
Installation
To install Storm Streaming Server, use one of the dedicated installers available on our Download page. Choose the guide matching your operating system:
If you prefer Docker, follow the Docker-based Installation guide instead.
Accessing the Control Panel
Once Storm Streaming Server is installed, you can access the Control Panel through your web browser. By default, the server runs on port 8080:
http://127.0.0.1:8080/cpanel
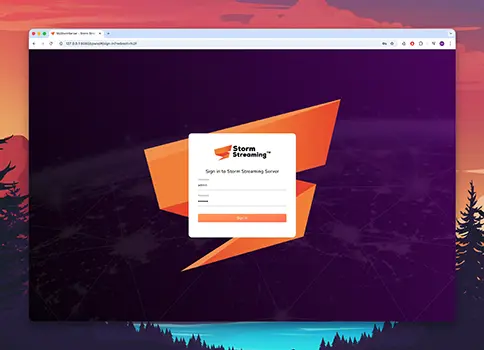
When the login screen appears, enter the username and password you provided during installation.

Server Configuration
After logging in, the first step is to configure the server. From the side menu, navigate to Server → Settings.

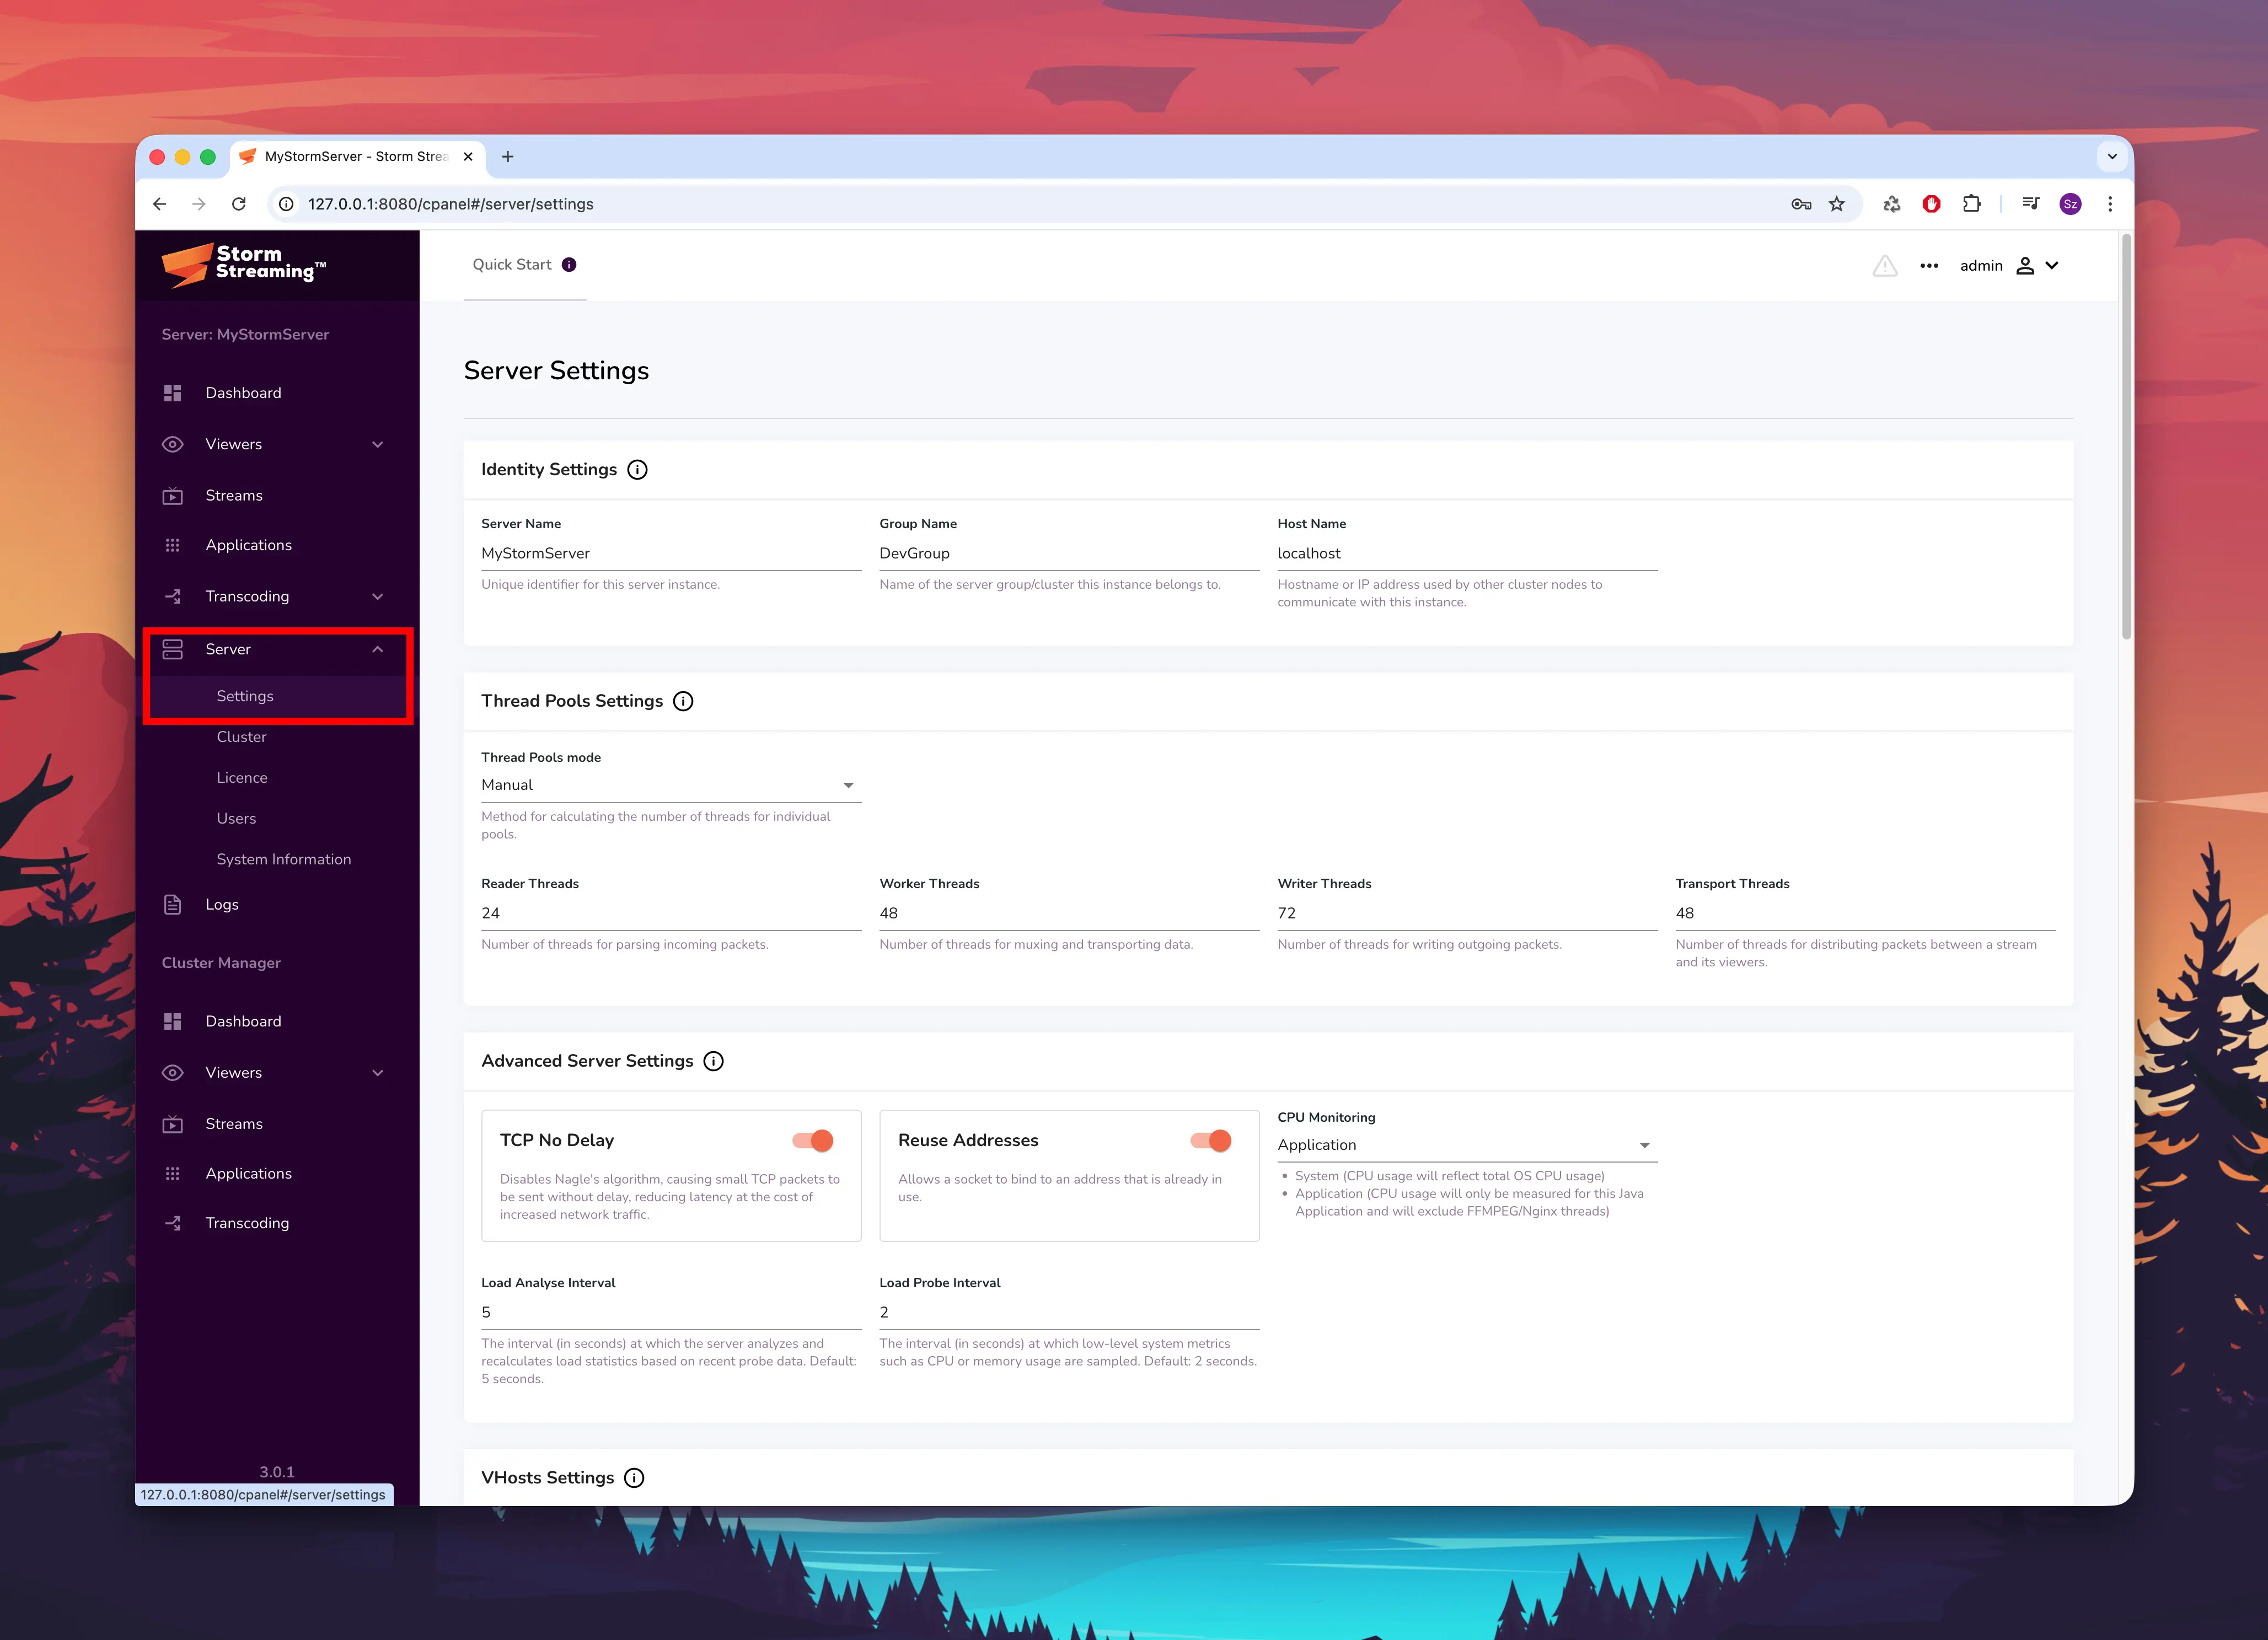
You can assign your server a name in the Identity field and a Group name. These parameters are used solely for server identification, which becomes useful when running multiple instances. In the Host Name field, enter the server's hostname - for example, localhost if running locally.


For more details, see Identity & Group.
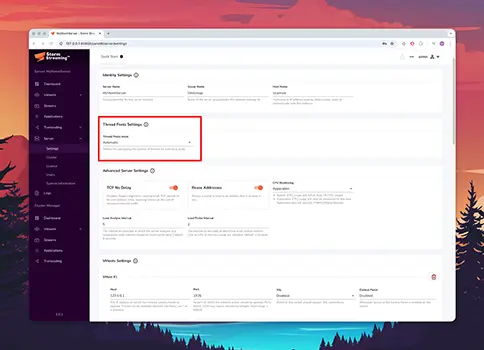
Make sure the Automatic mode is selected. This is a good starting point. If the Dashboard later shows shortages for specific pools, you can switch to manual mode and adjust the values individually.

For more details, see Thread Pools.
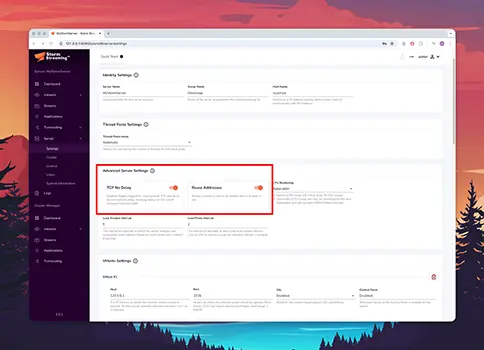
Ensure that both TCP No Delay and Reuse Addresses options are enabled.

For more details, see Advanced Settings.
Make sure you have two VHosts configured:
| VHost | Port | Protocols | Purpose |
|---|---|---|---|
| 1 | 1935 | RTMP | Stream ingest from encoders |
| 2 | 8080 | HTTP, WebSockets | Control Panel and stream playback |
If you are testing locally, you can set the host to 127.0.0.1 for both VHosts. Using * as the host will open sockets on all available network addresses.

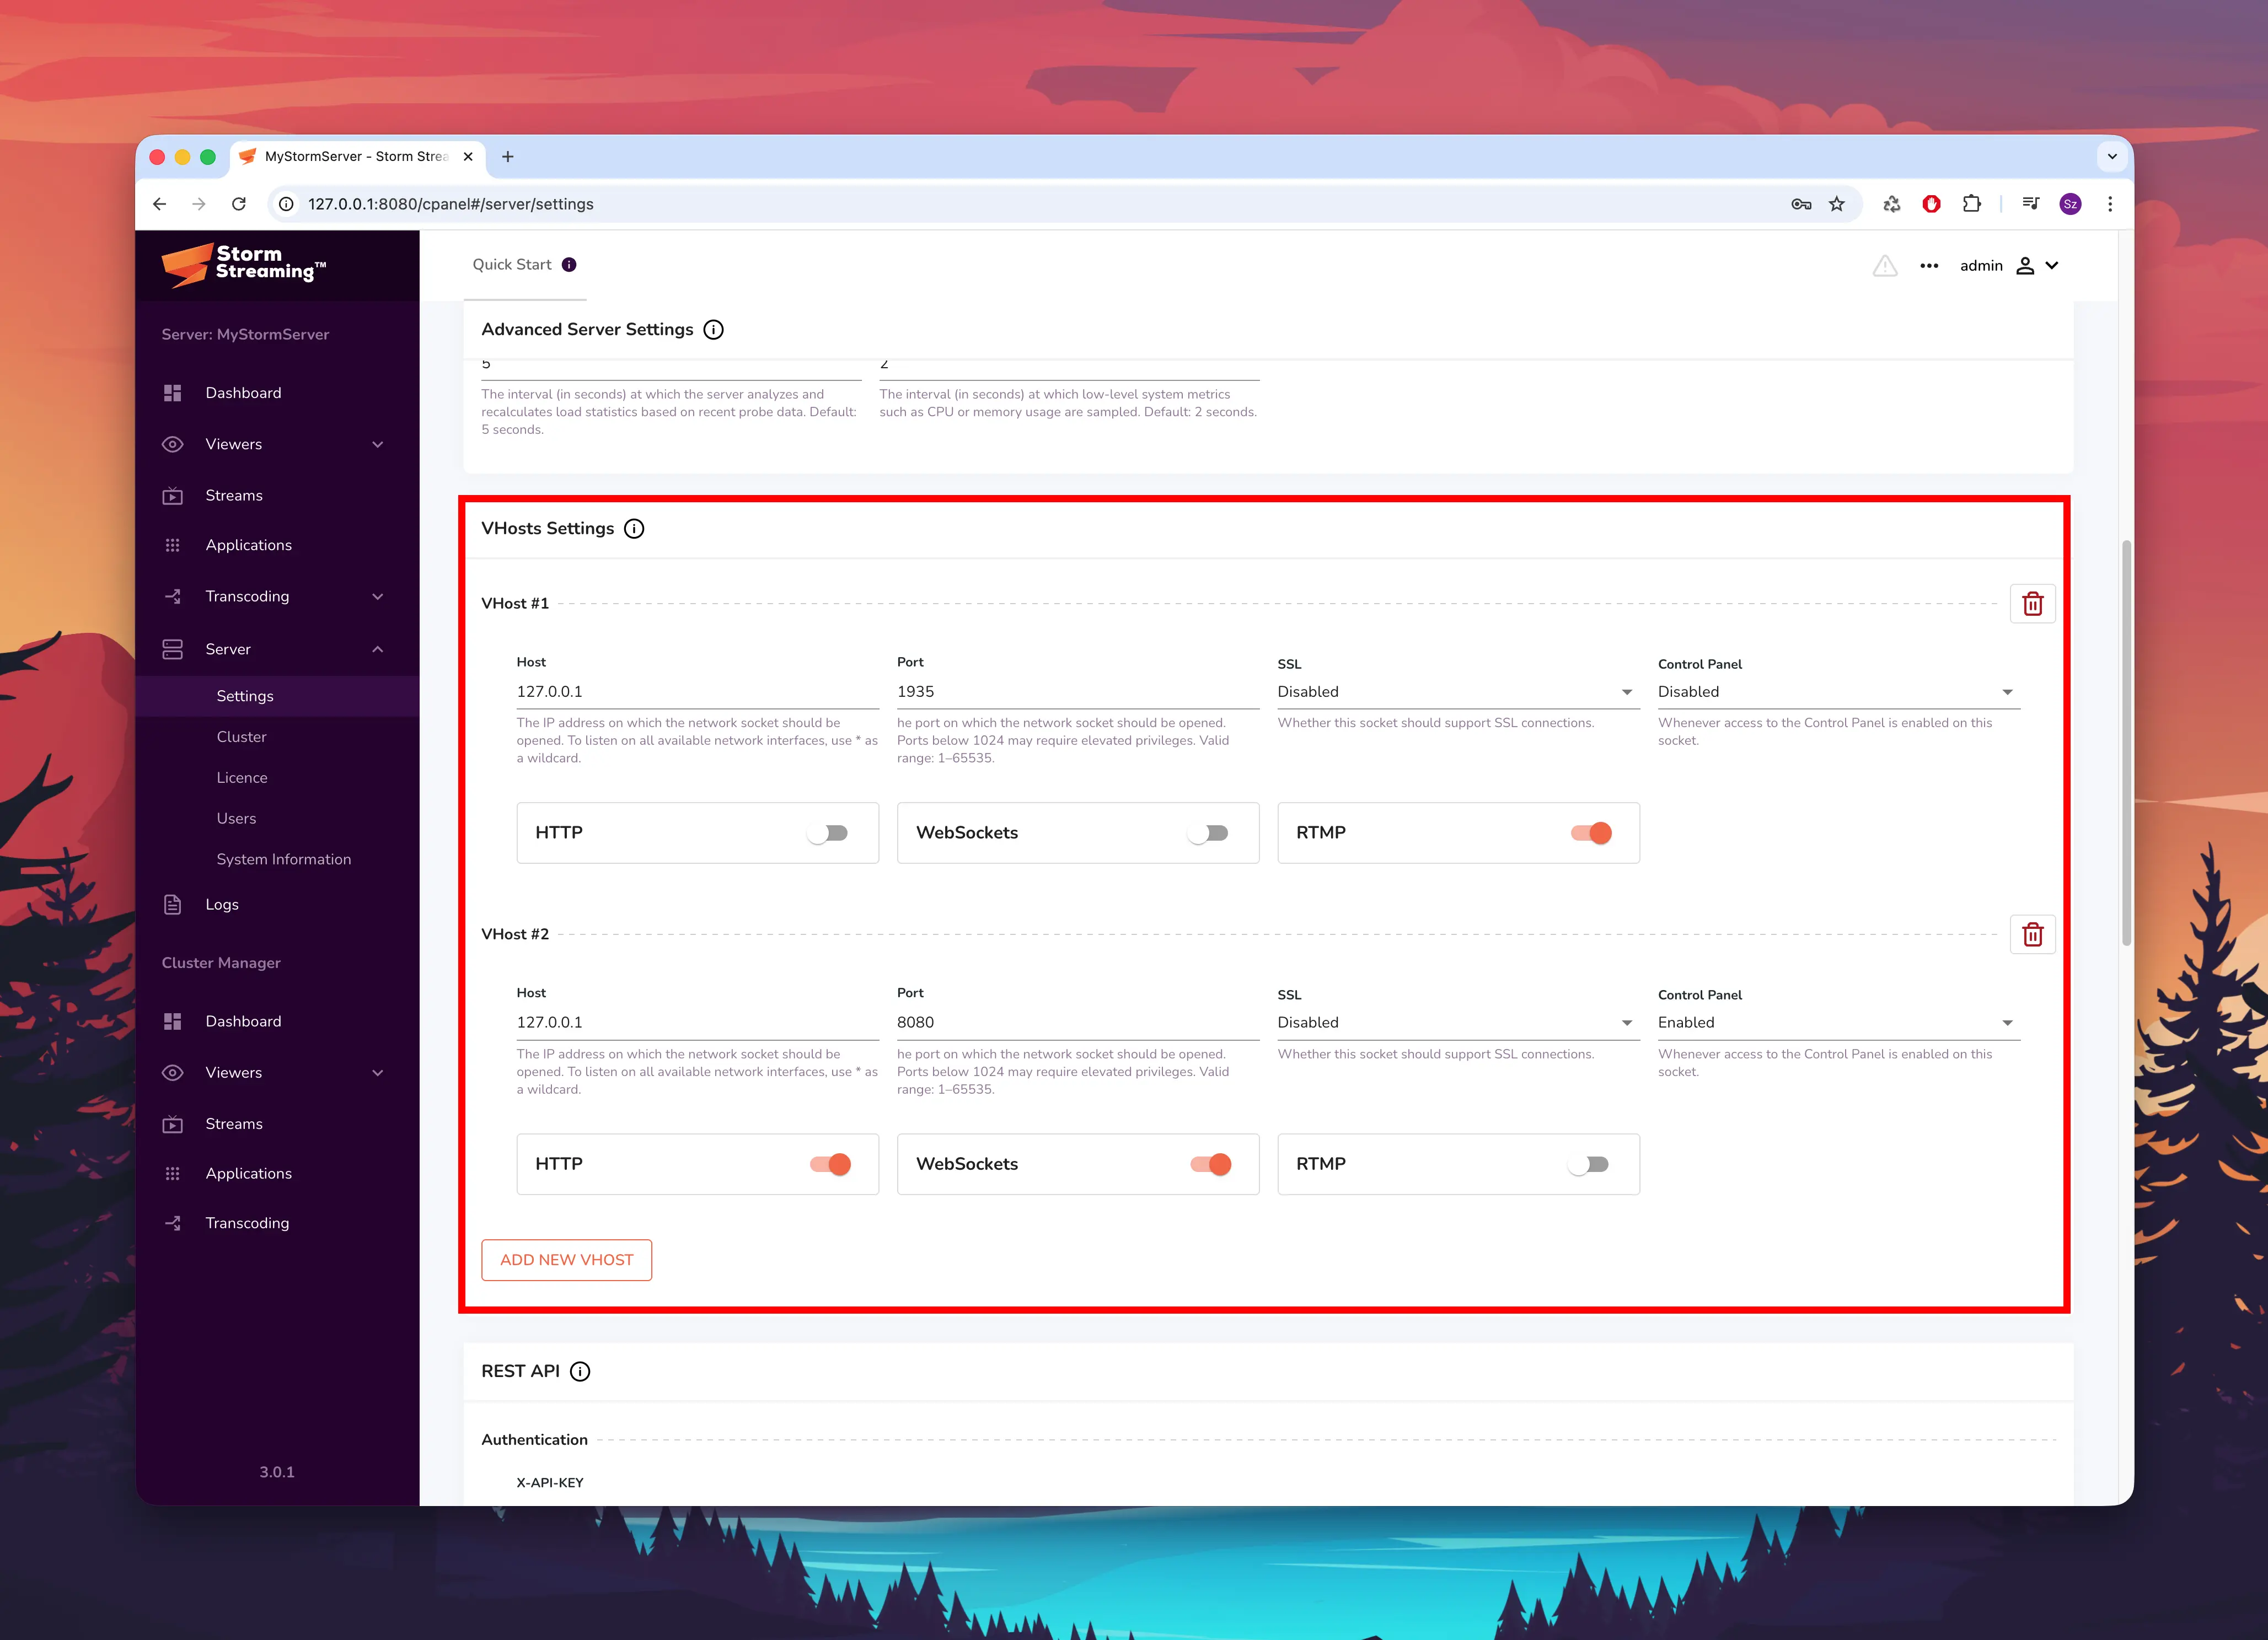
For more details, see VHosts.
Application Configuration
Now we need to configure an application - a special container where streams operate. By default, Storm ships with one Mono application named live. This application type is well suited for both ingesting and playing back streams.
Other application types (Origin, Transcode, Edge) are used for task distribution in a cluster environment. You can learn more in the Clustering Introduction.
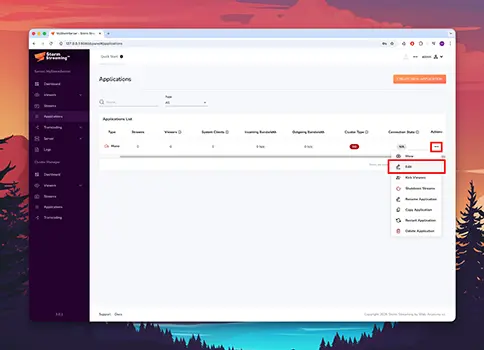
Navigate to Applications in the side menu, select the live application, and choose Edit from the context menu.

This block controls how streams can be published to the application. Make sure the following options are enabled:
- Allow Ingest - enables stream publishing
- Auto Publish - automatically makes incoming streams available to viewers
- Allow Overwrite - allows reconnecting to an existing stream key
Set the Auth Method to None. This allows broadcasting without providing a username and password.
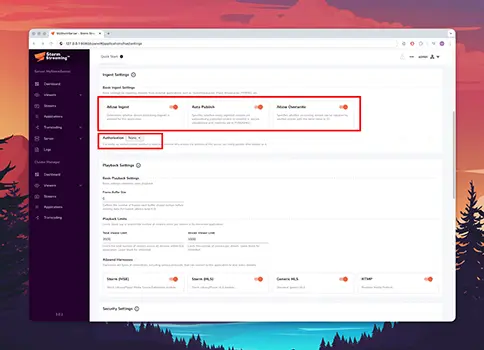
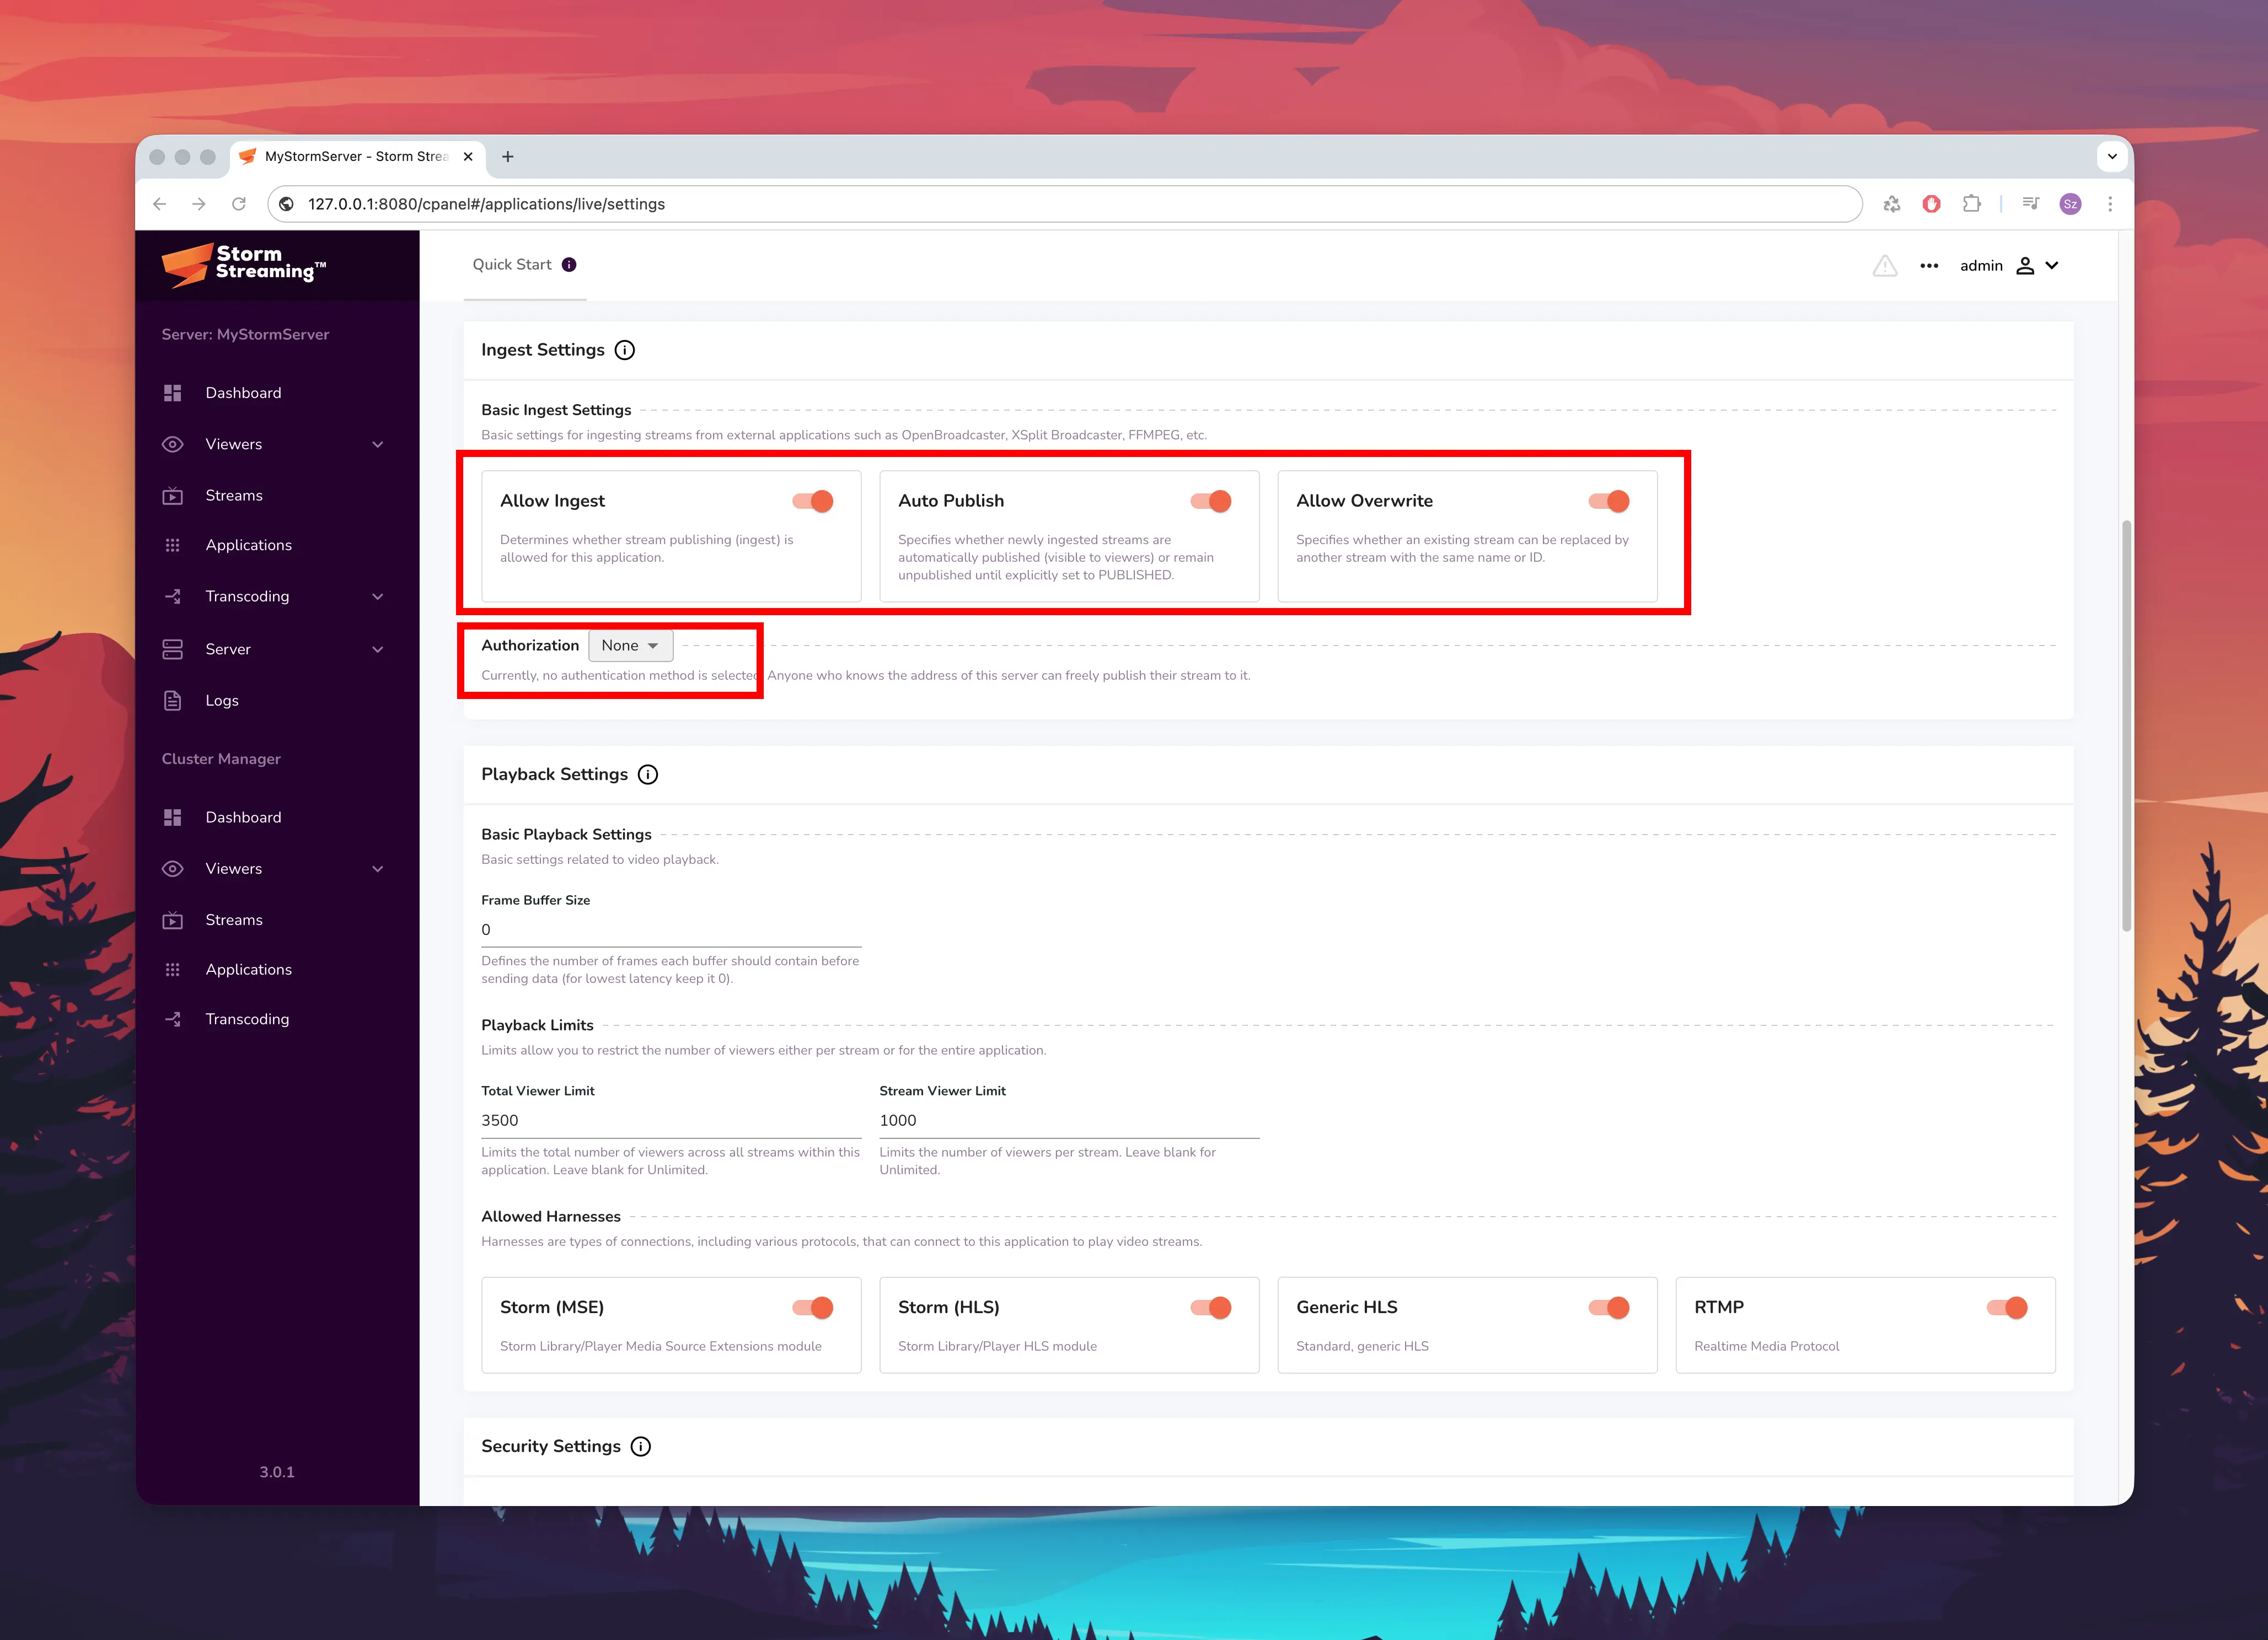
Disabling authentication is fine for testing, but we strongly recommend enabling it for production environments. See Ingest Settings for details.
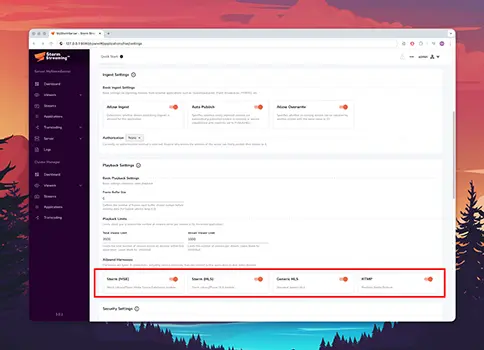
Ensure the following playback harnesses are enabled:
- Storm (MSE) - low-latency browser playback via WebSockets
- Storm (HLS) - HLS playback through Storm Player
- Generic HLS - standard HLS for third-party players
- RTMP - RTMP playback for compatible clients
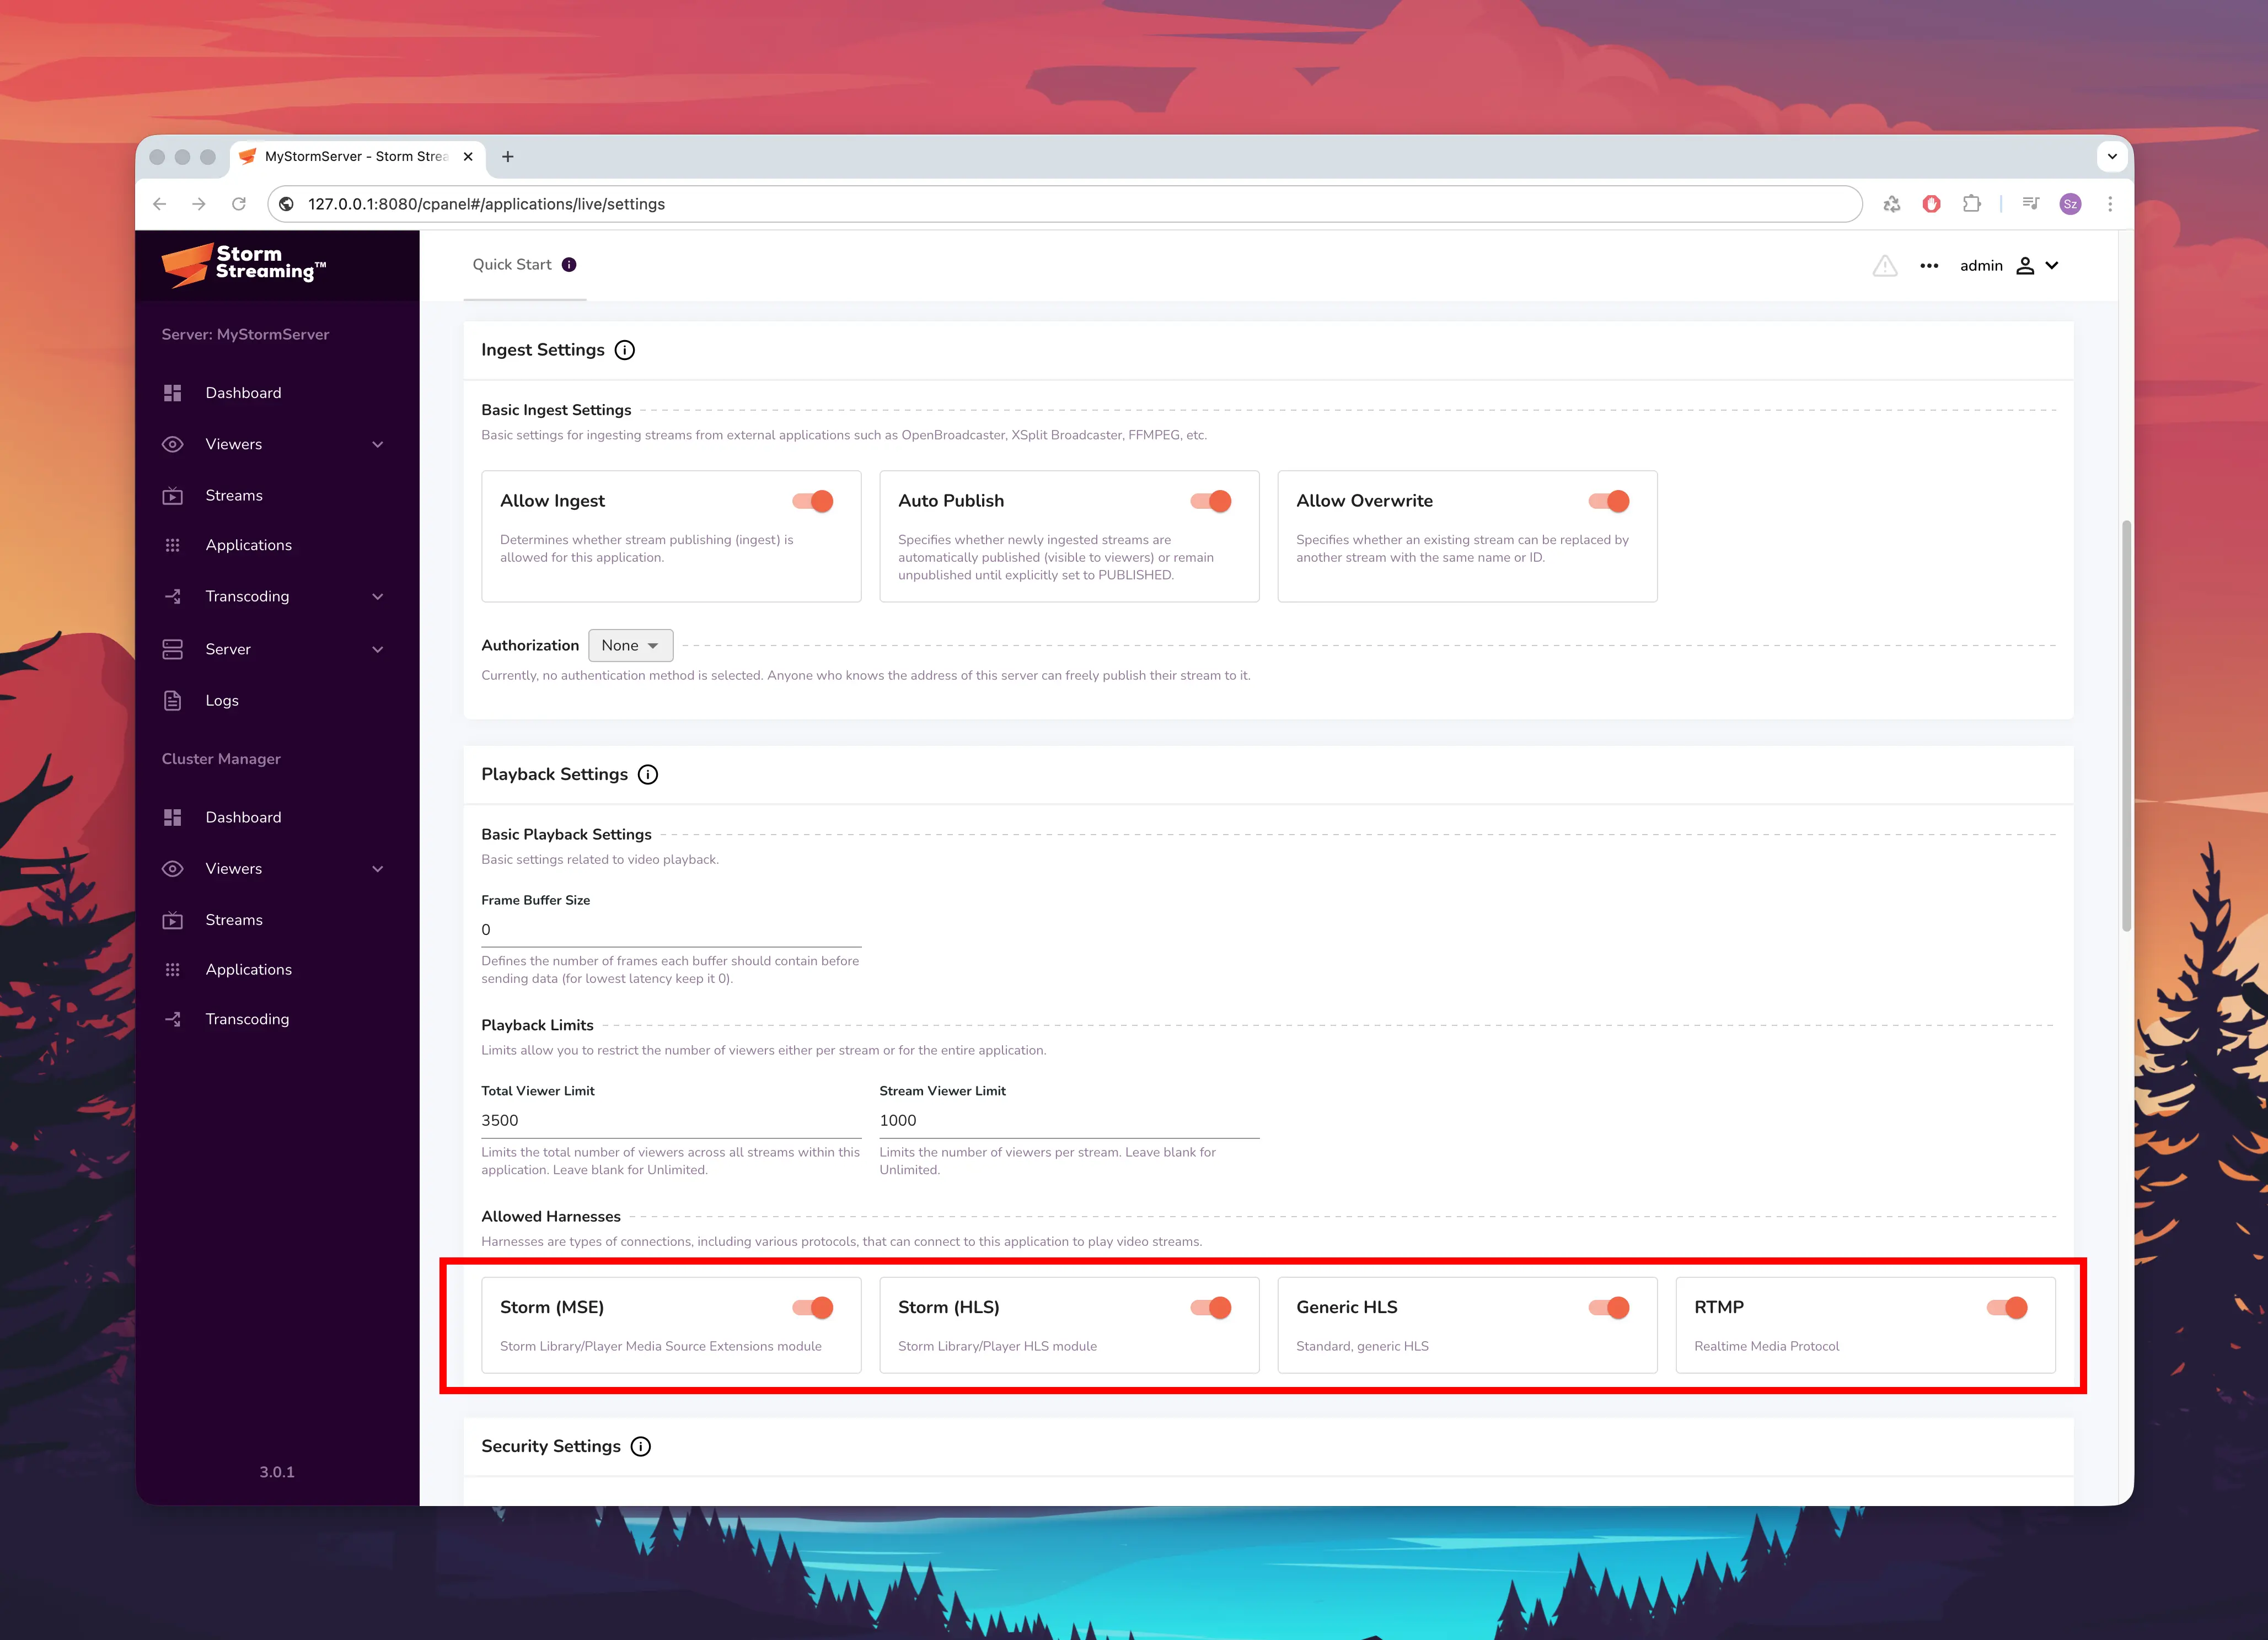
Live Transcoding allows you to create a quality ladder for your streams. This option is disabled by default. If you have installed and configured FFmpeg, you can enable it here and select the presets you want to activate.

If FFmpeg is not installed, the stream will simply be delivered in its original quality.
Remember to save your changes after configuring each block by clicking the Save button.
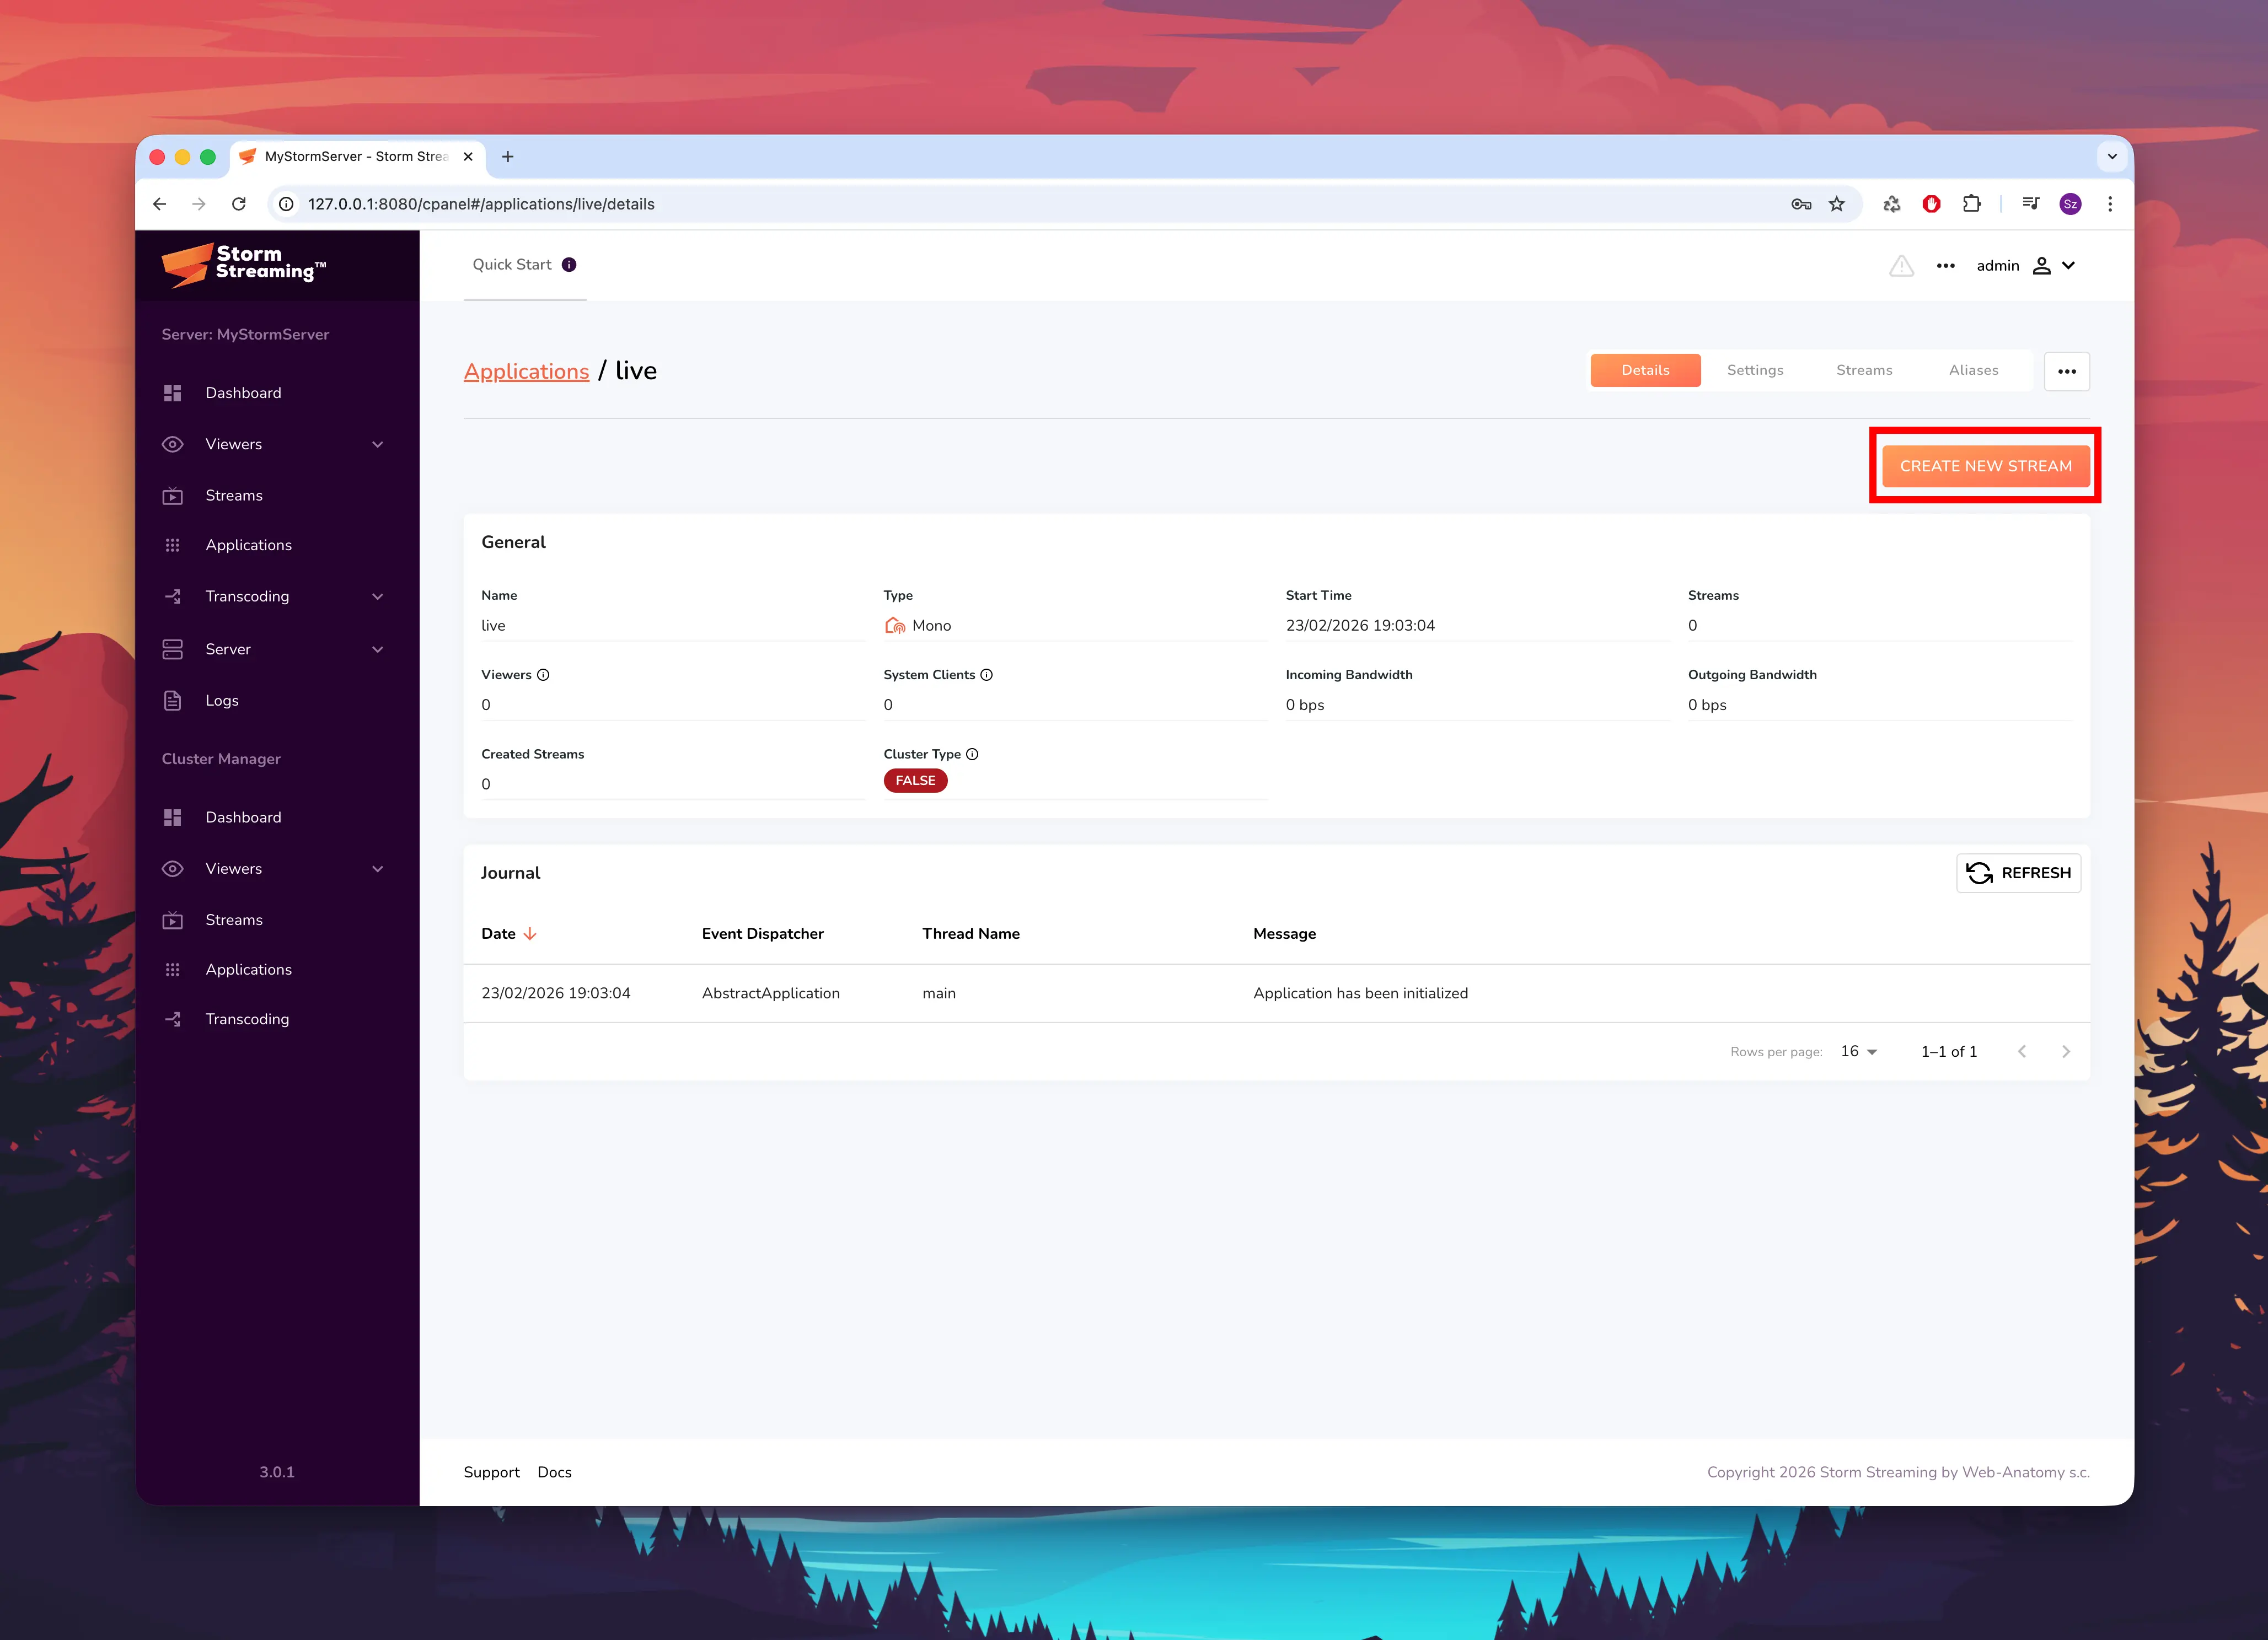
Creating a Stream
Navigate to Applications from the side menu and select the
liveapplication. In the top-right corner, click the Create New Stream button.
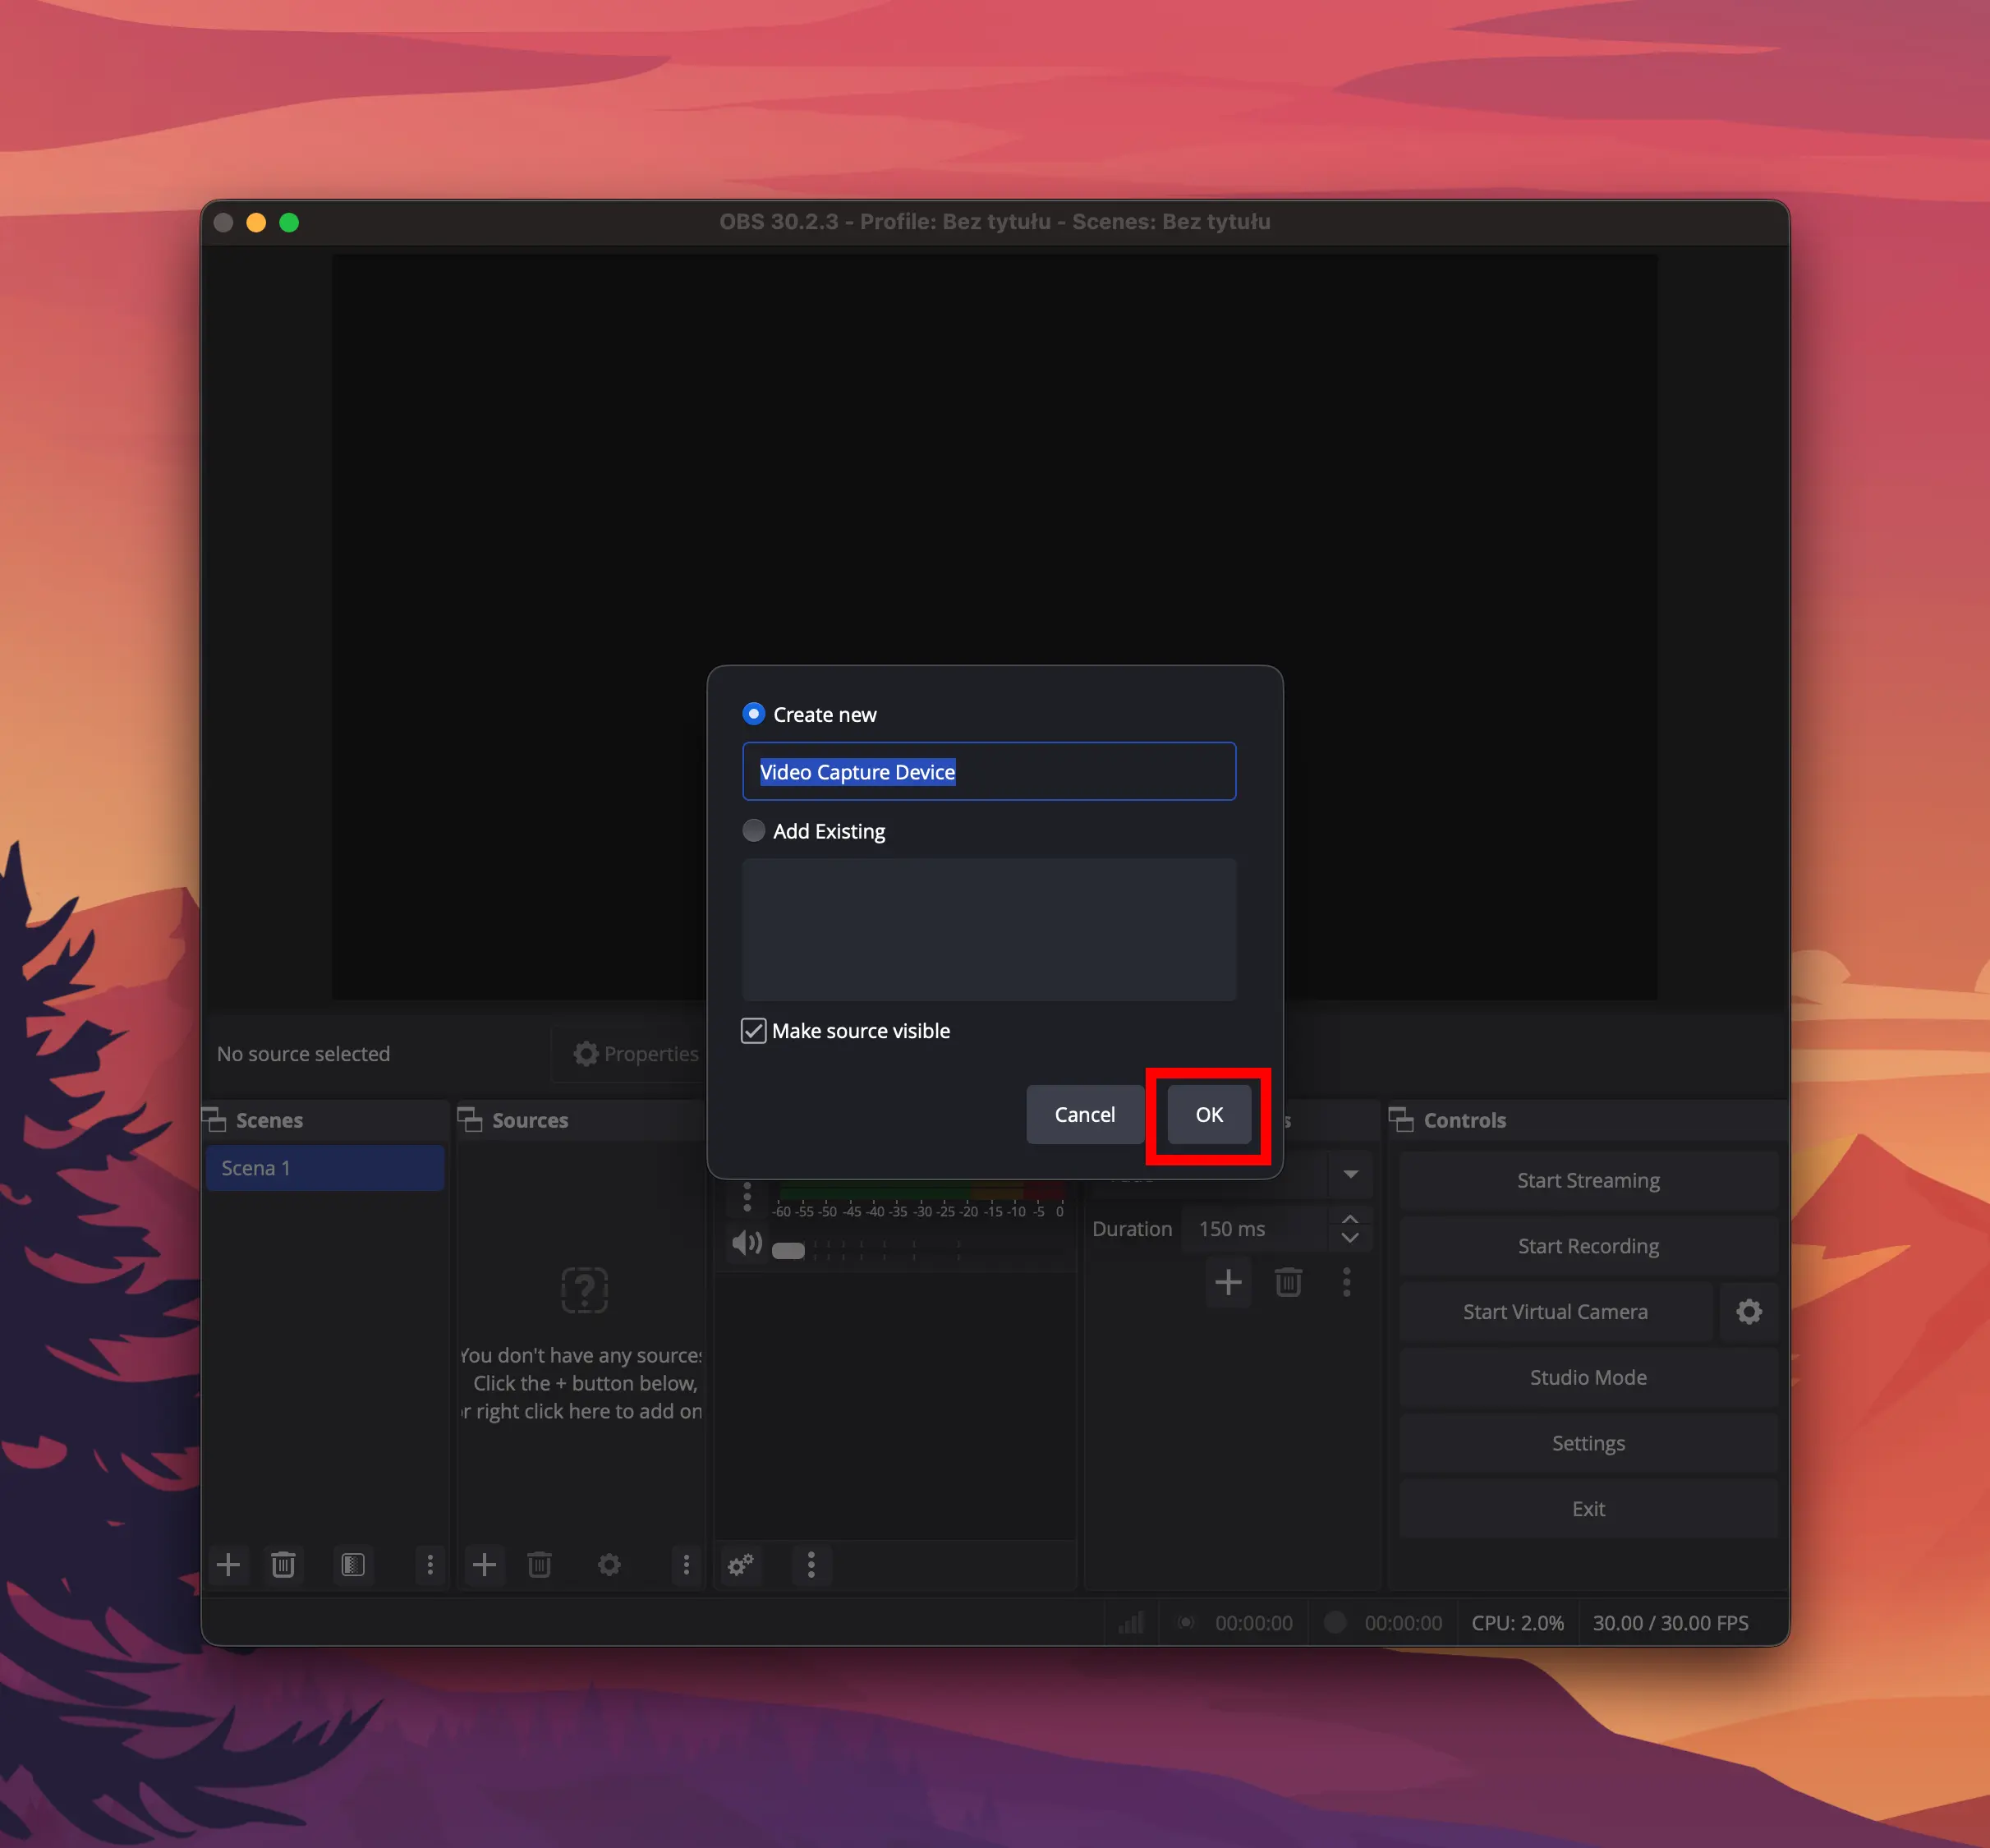
 Creating a stream part 1
Configure the new stream with the following settings:
Parameter Value Application live(pre-selected)Stream Key testStream Type IngestAuth Method No AuthAllow Publishing EnabledRecord Stream Disabled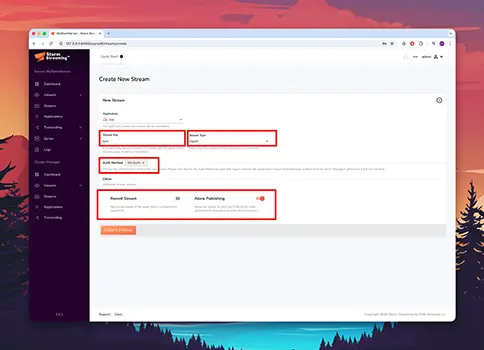
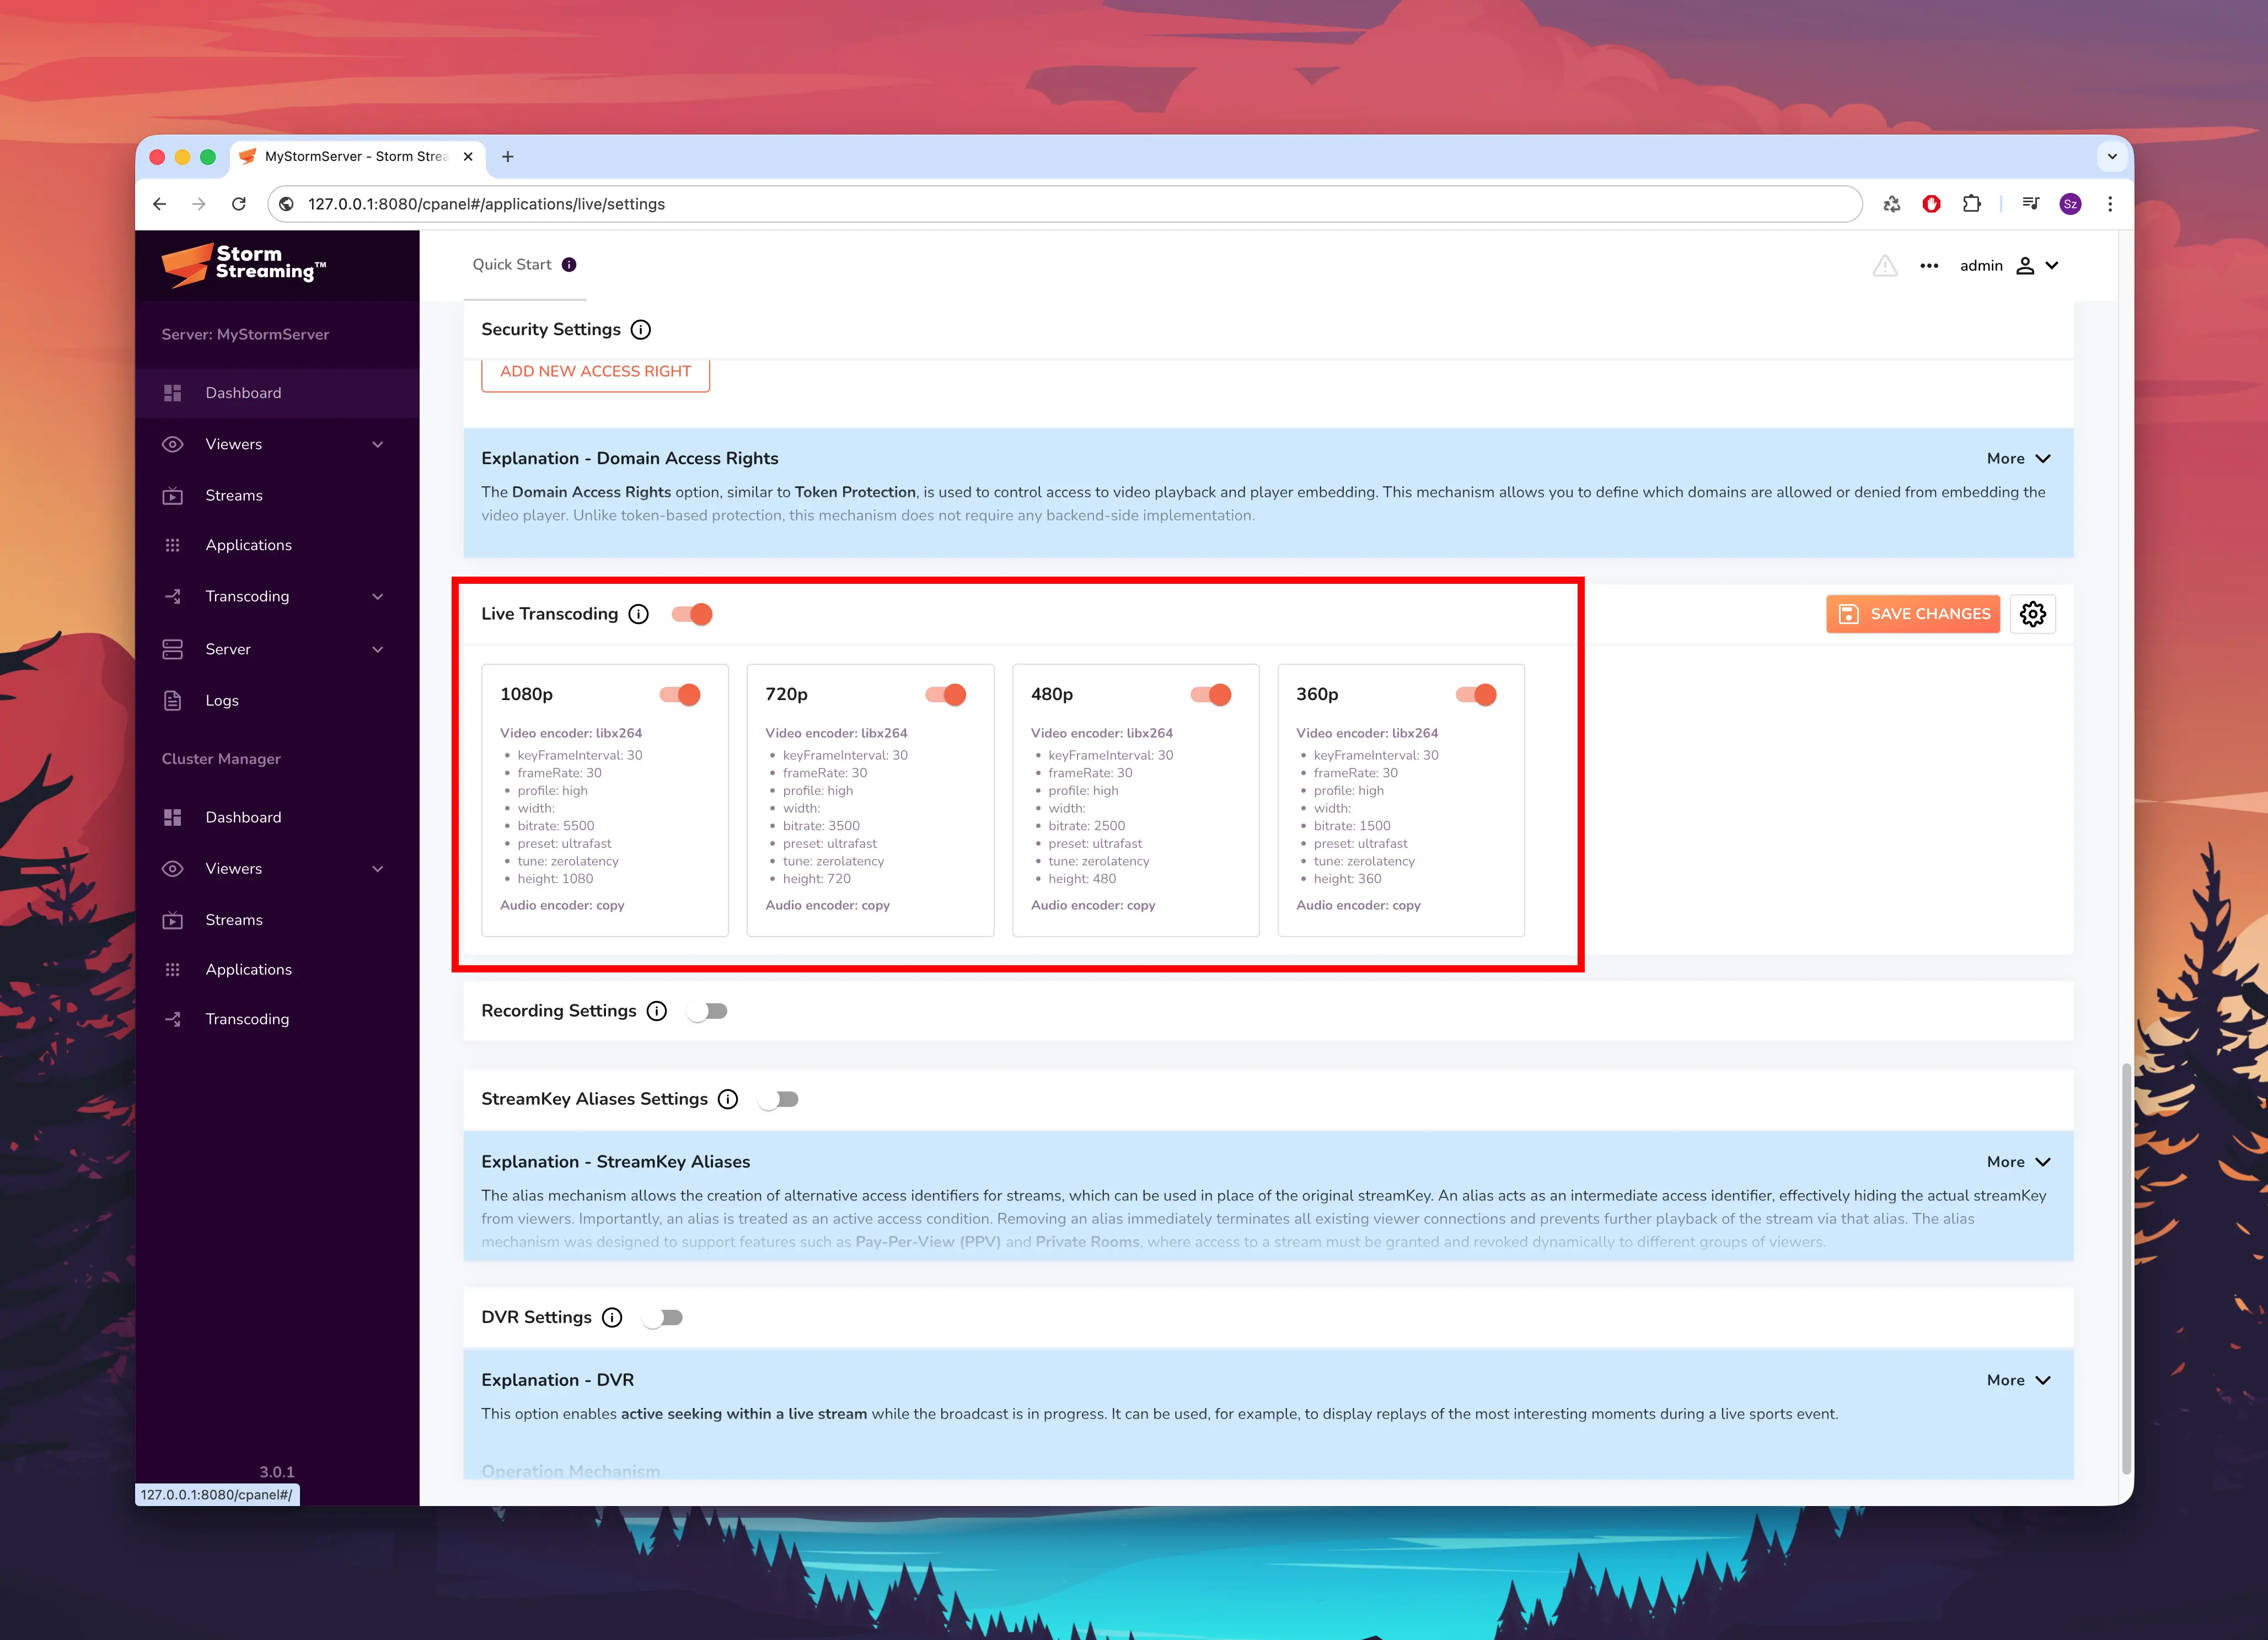
 Creating a stream part 2
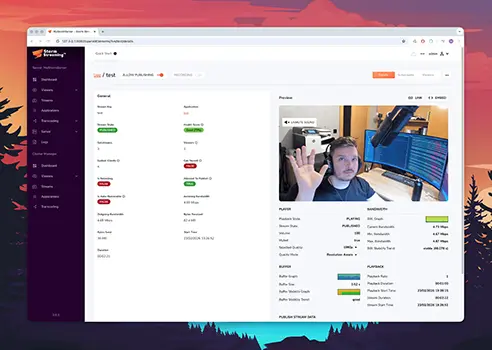
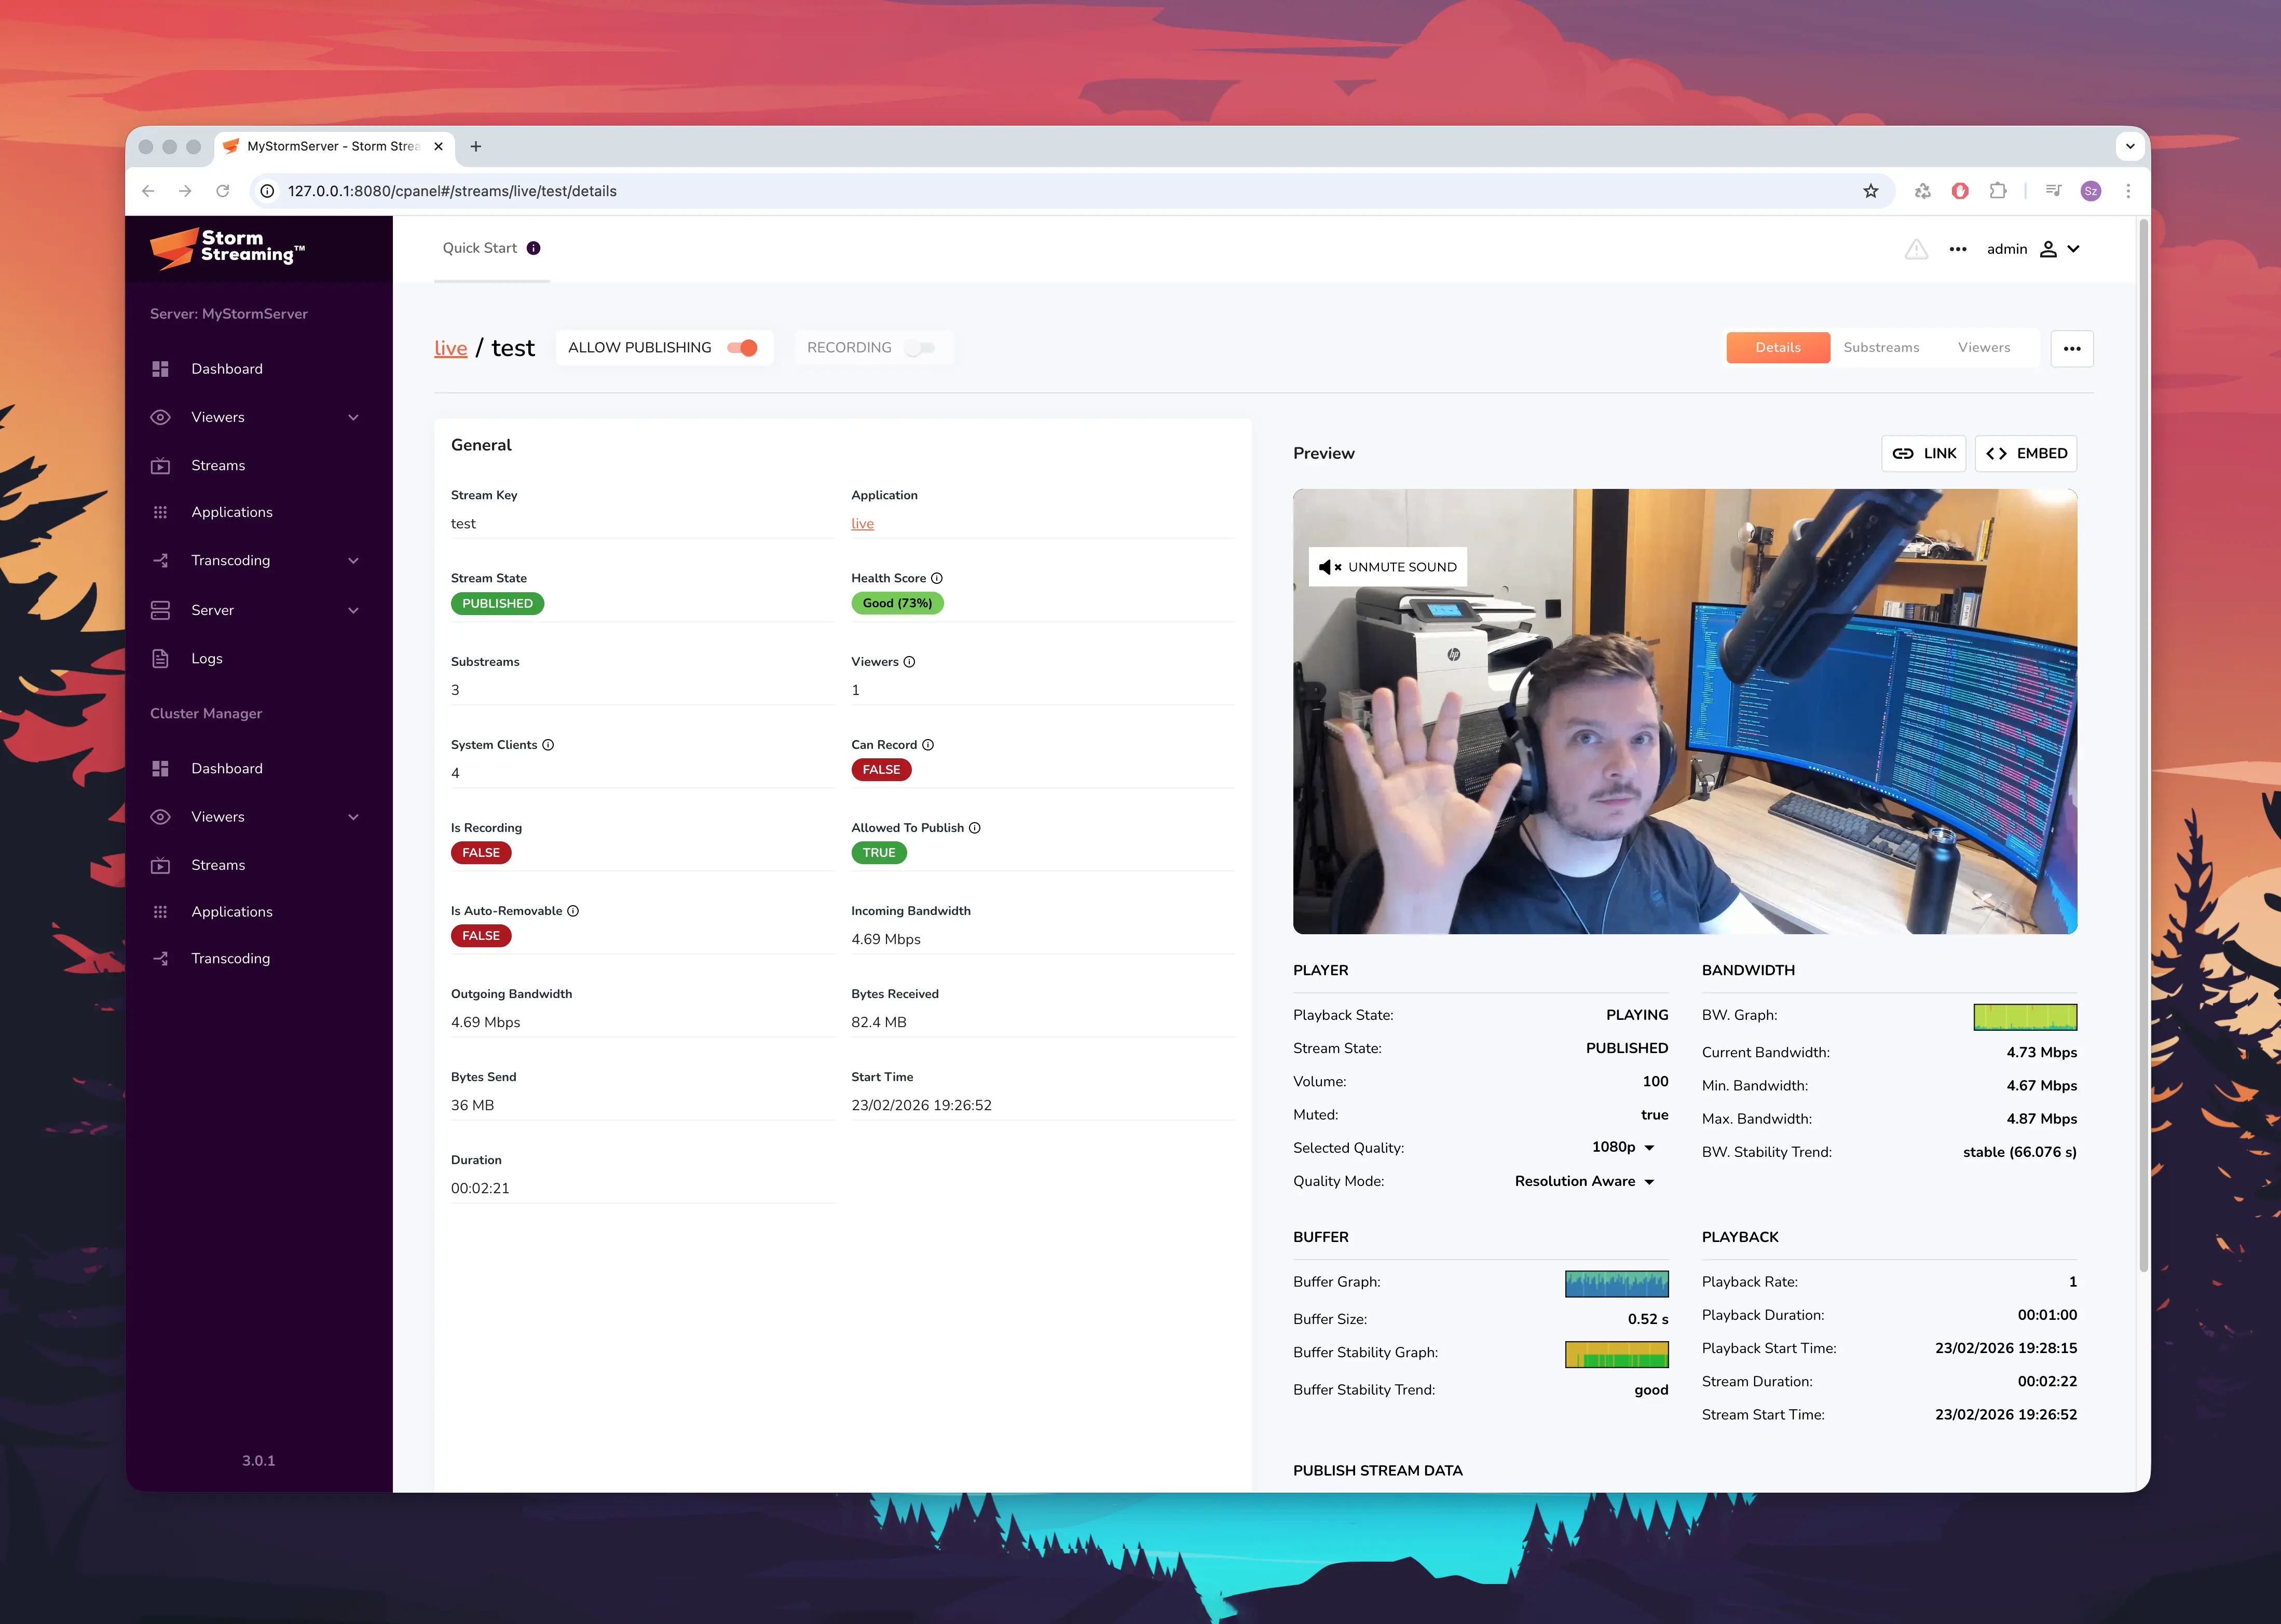
After creating the stream, you will be redirected to its detail page. The stream is now waiting for an incoming broadcast from an external encoder such as OBS.
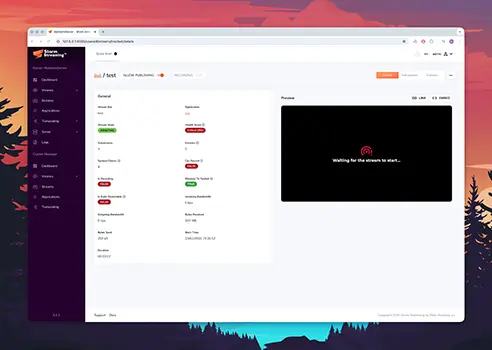
 New stream created
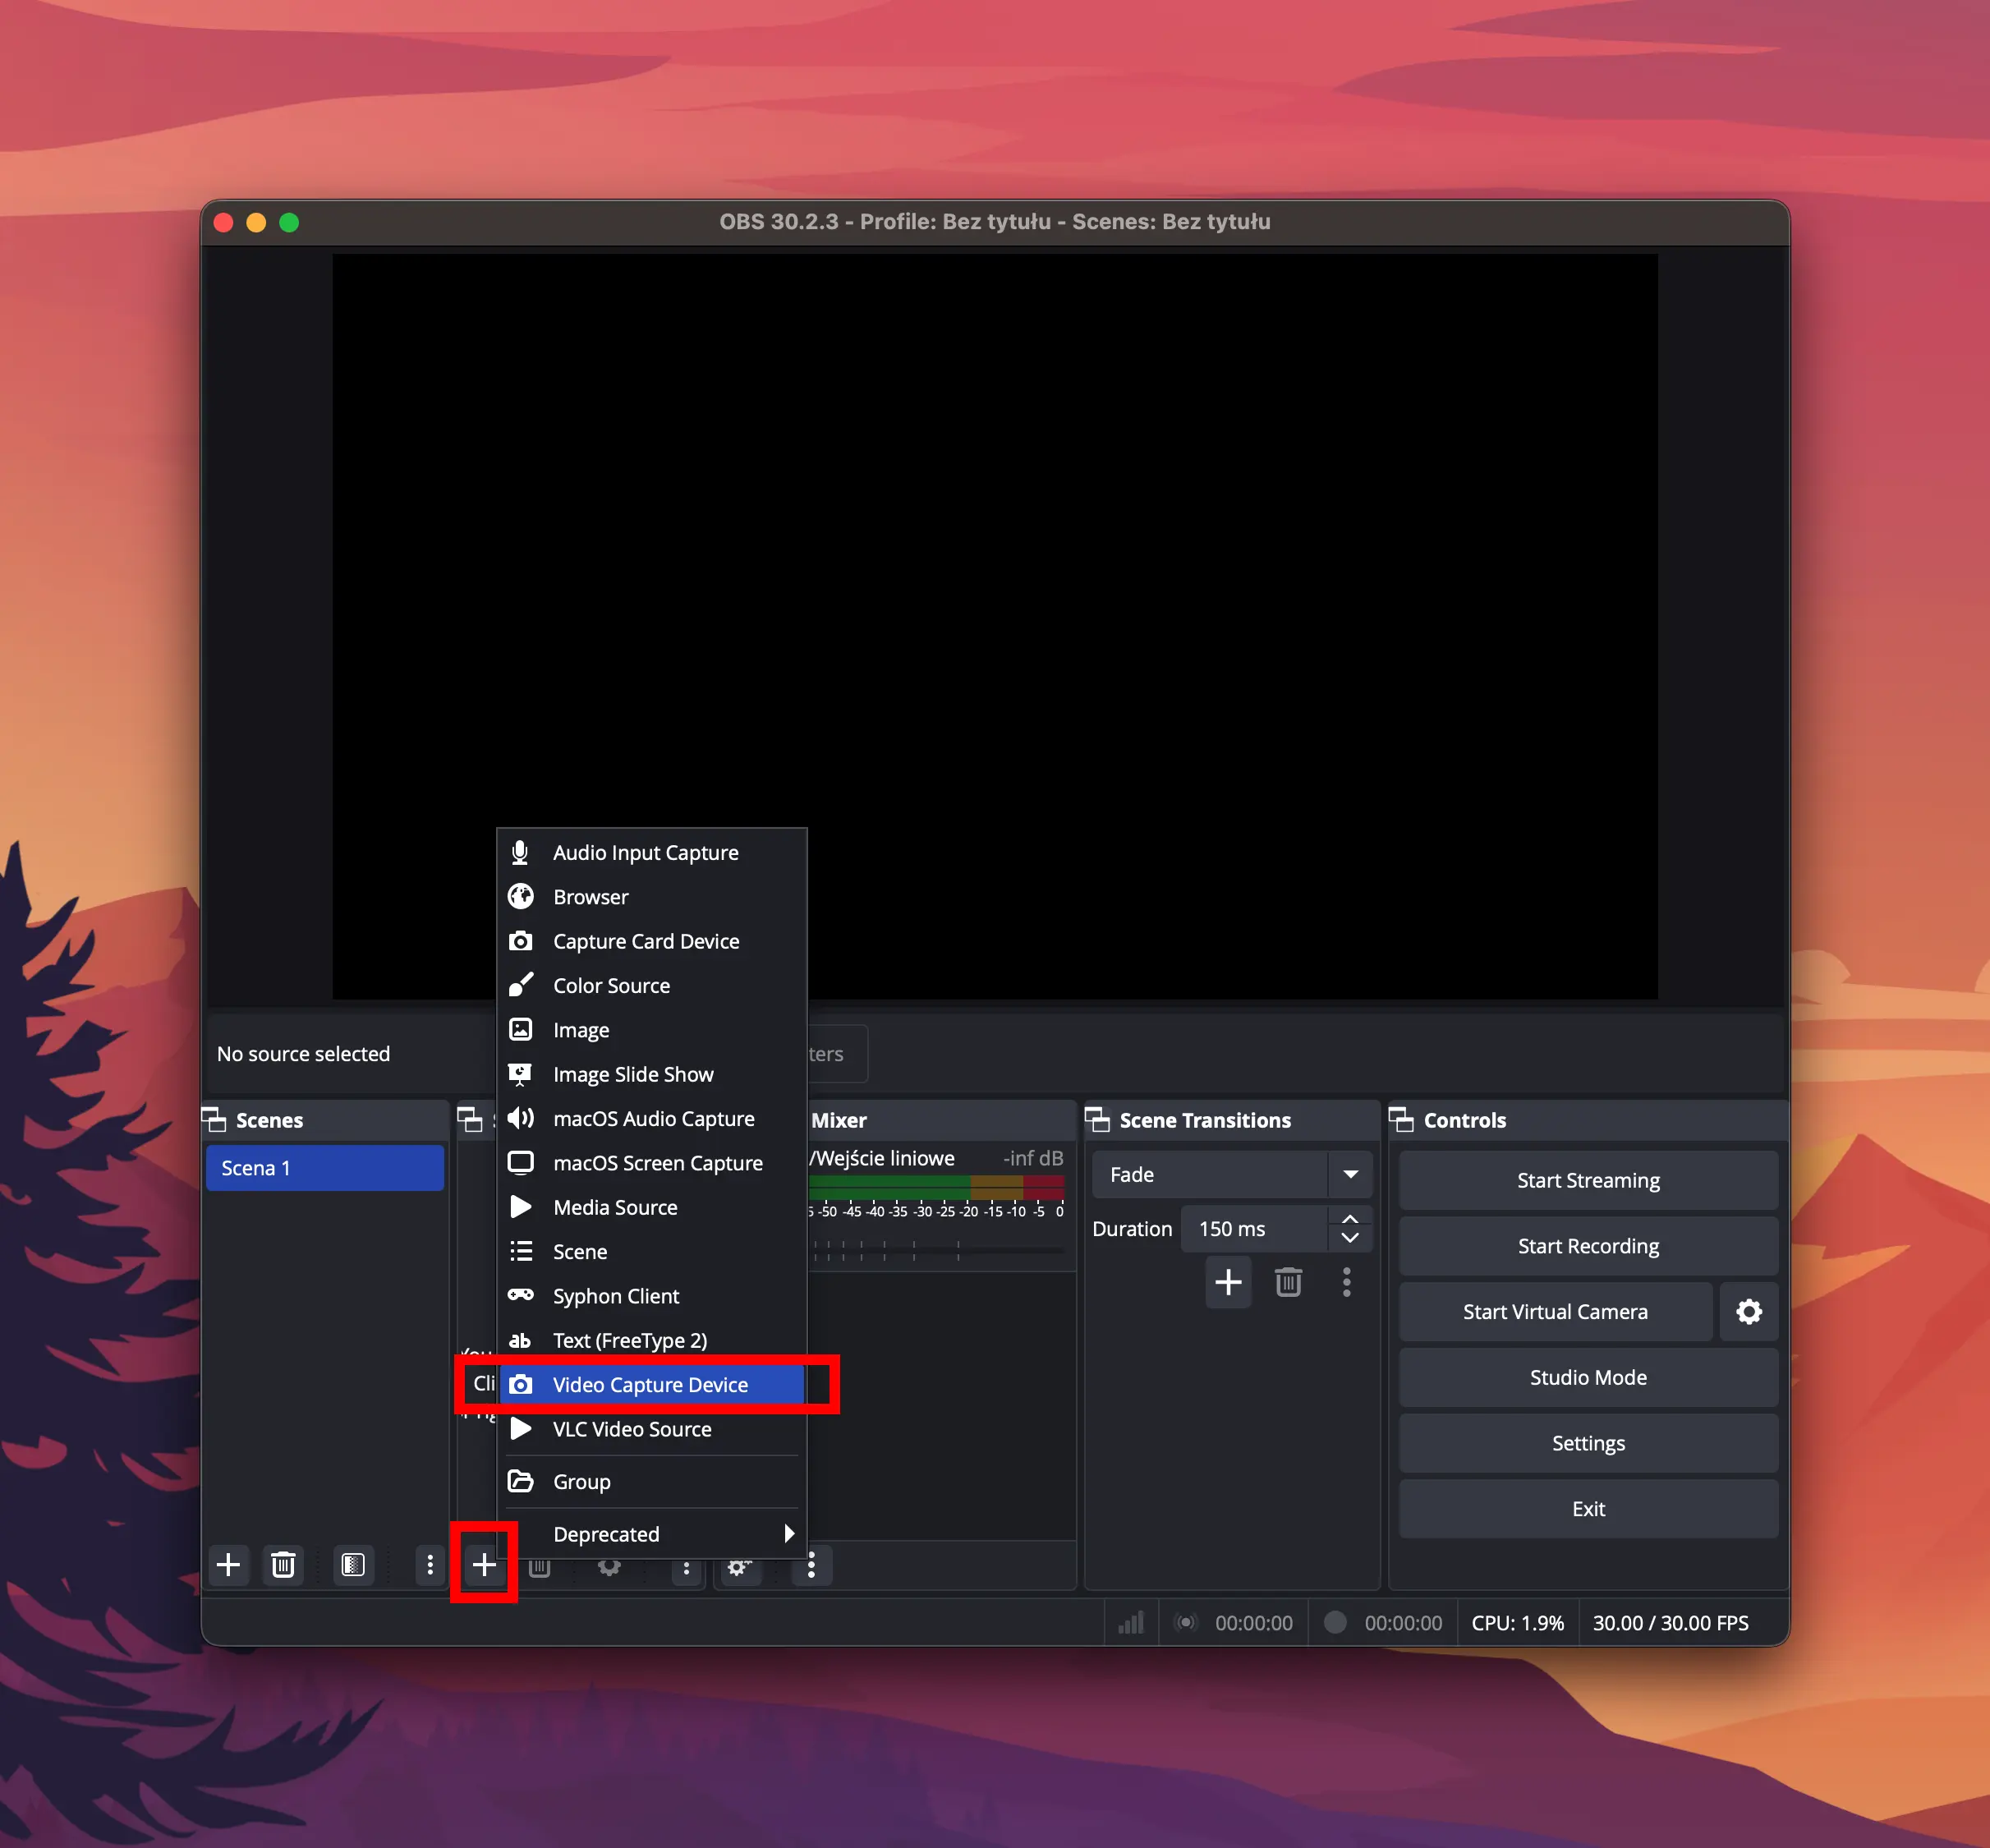
Configuring the Broadcaster (OBS Studio)
In OBS Studio, configure your scene by adding a source - for example, a media file or a Video Capture Device (webcam).


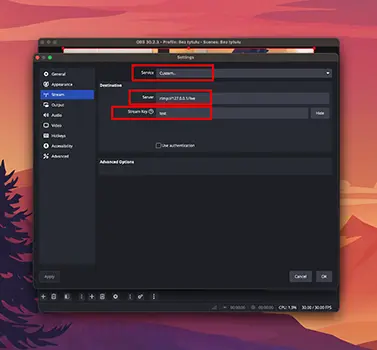
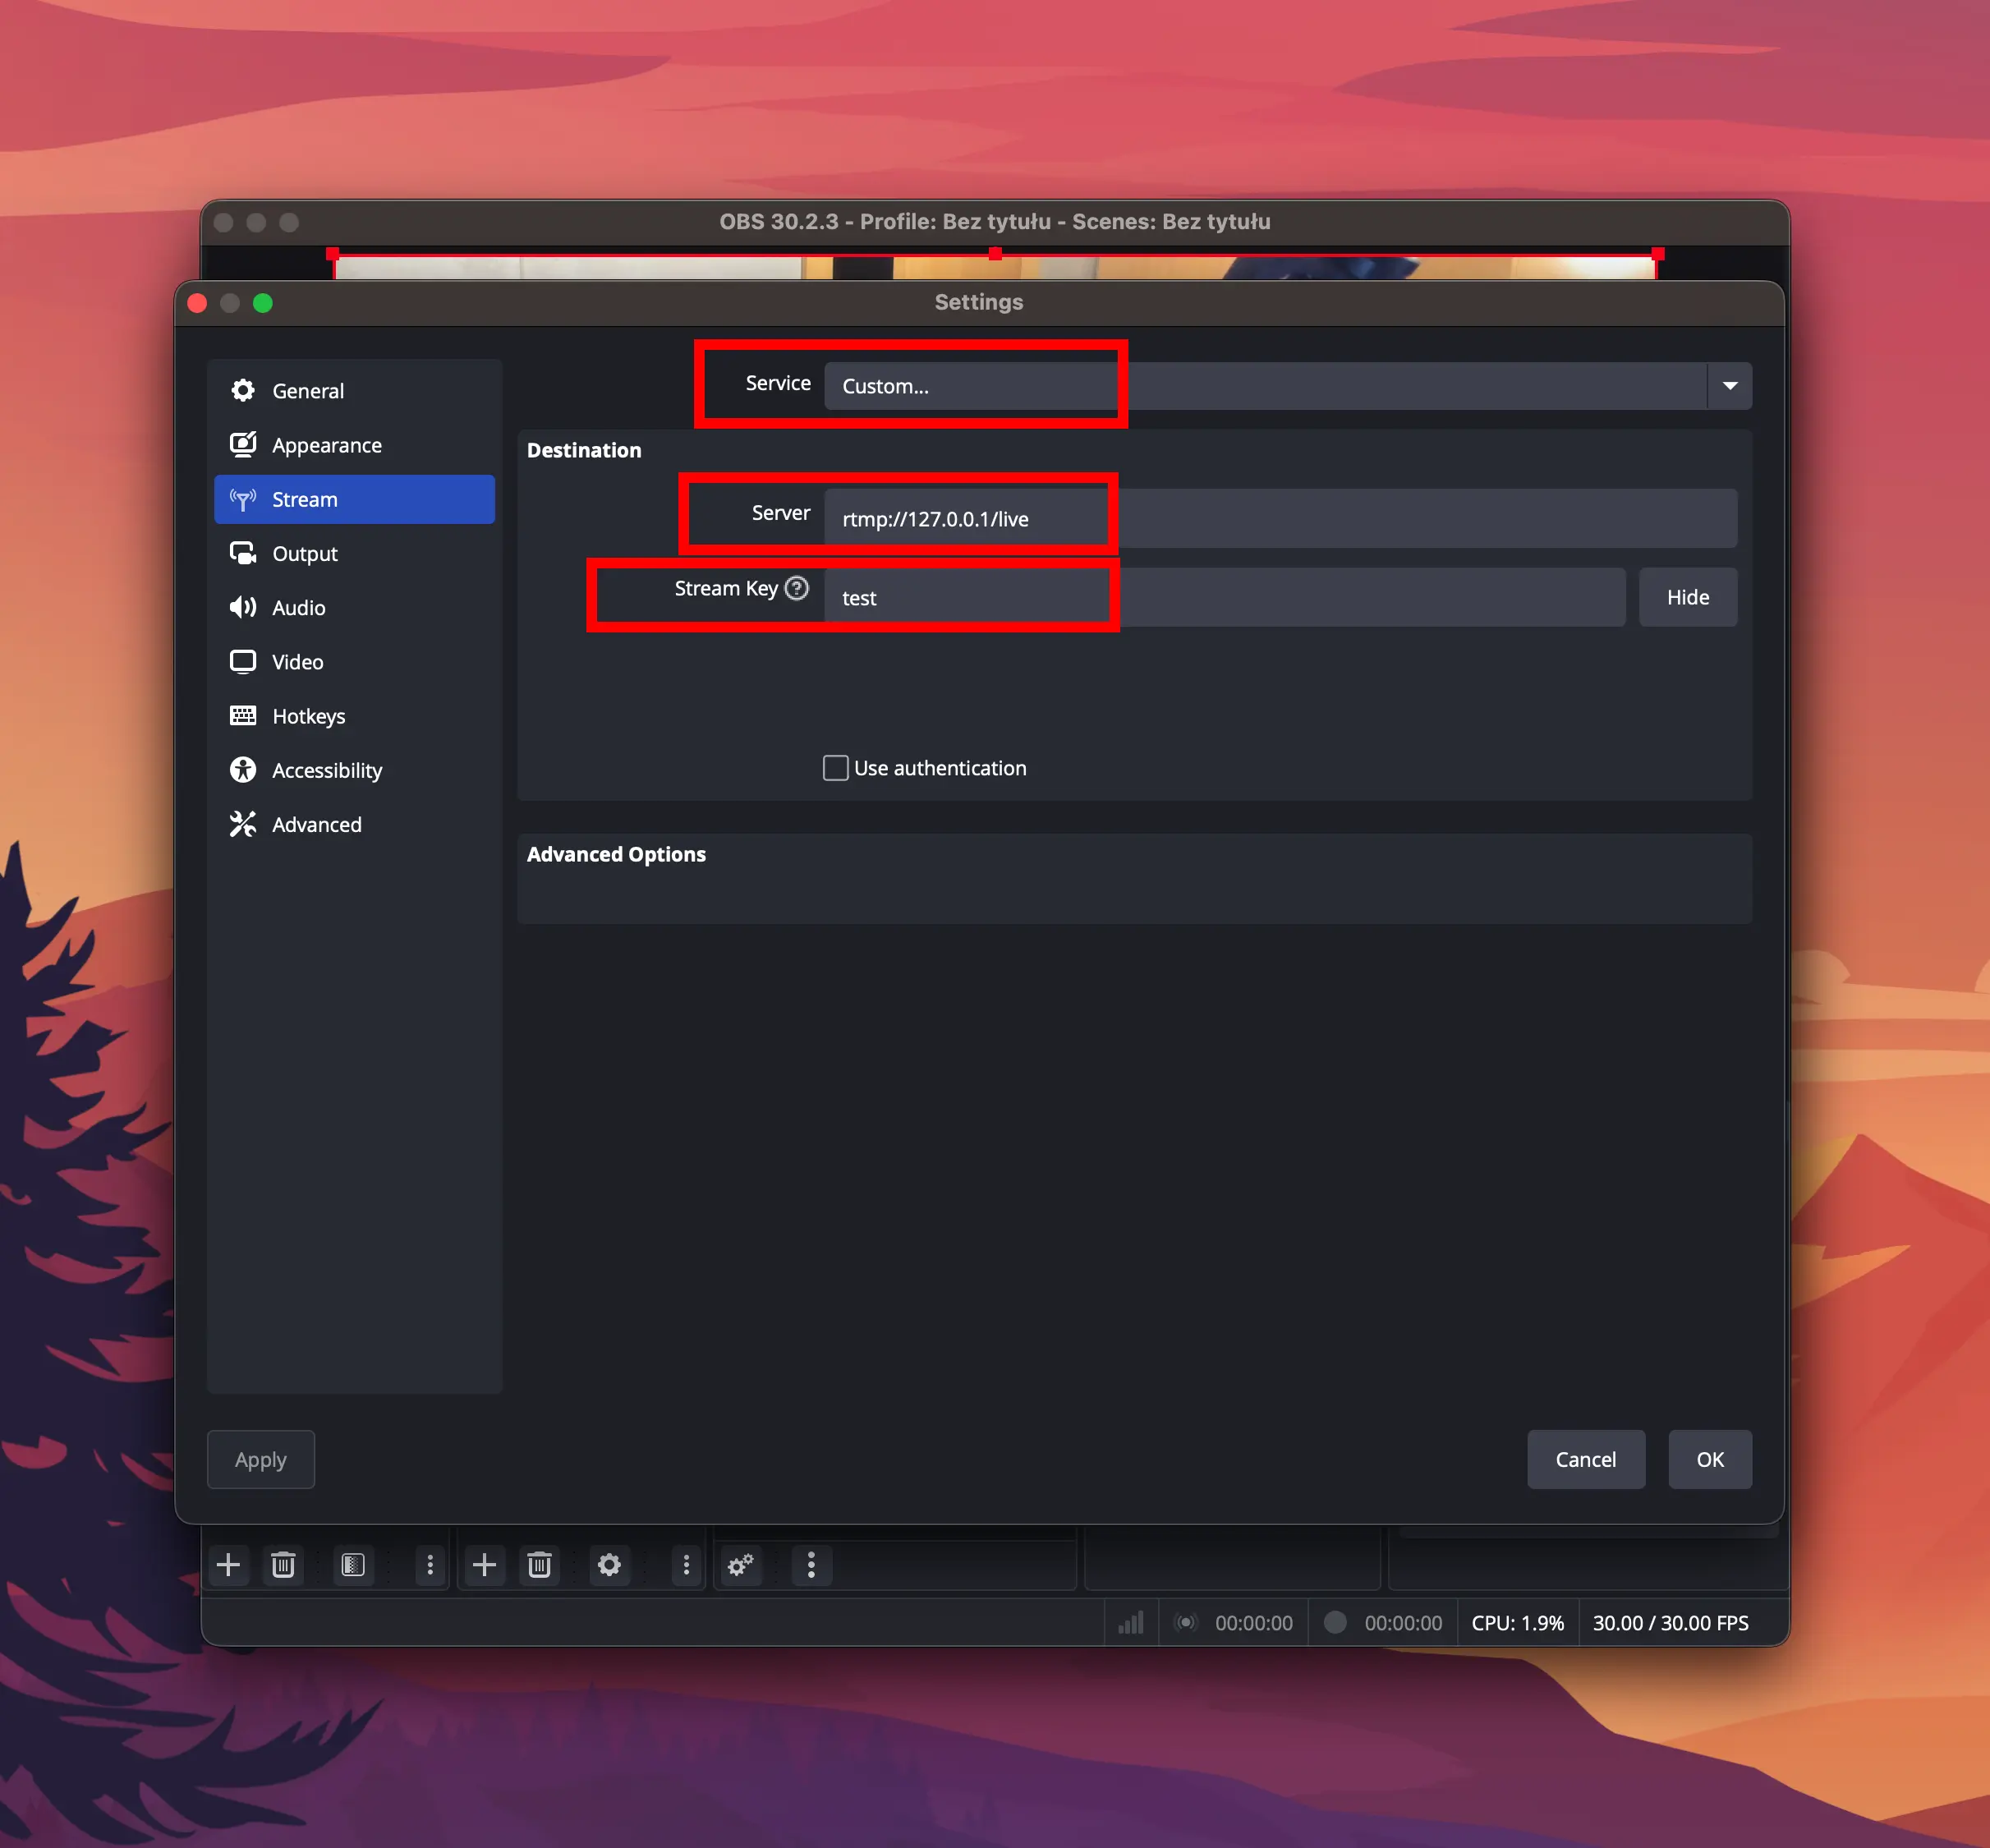
Open Settings from the main menu and navigate to the Stream tab. Set Service to Custom... and enter the following:
Server:     rtmp://127.0.0.1/live
Stream Key: test
The server URL consists of your RTMP address followed by the application name. Since the default application is called live, the URL is rtmp://127.0.0.1/live. If your application has a different name, replace live with that name.
The Stream Key is the key you assigned when creating the stream - in our case, test.
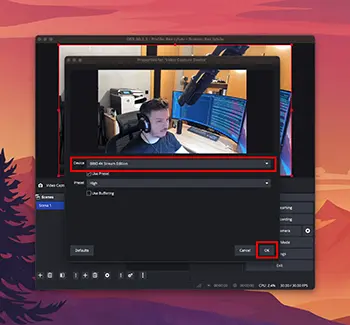
Navigate to the Output tab and set Output Mode to Advanced. Configure the encoder settings as follows:
| Parameter | Value |
|---|---|
| Video Encoder | x264 |
| Bitrate | 4500 kbps |
| Keyframe Interval | 1 s |
| CPU Usage Preset | veryfast, superfast, or ultrafast |
| Profile | high |
| Tune | zerolatency |

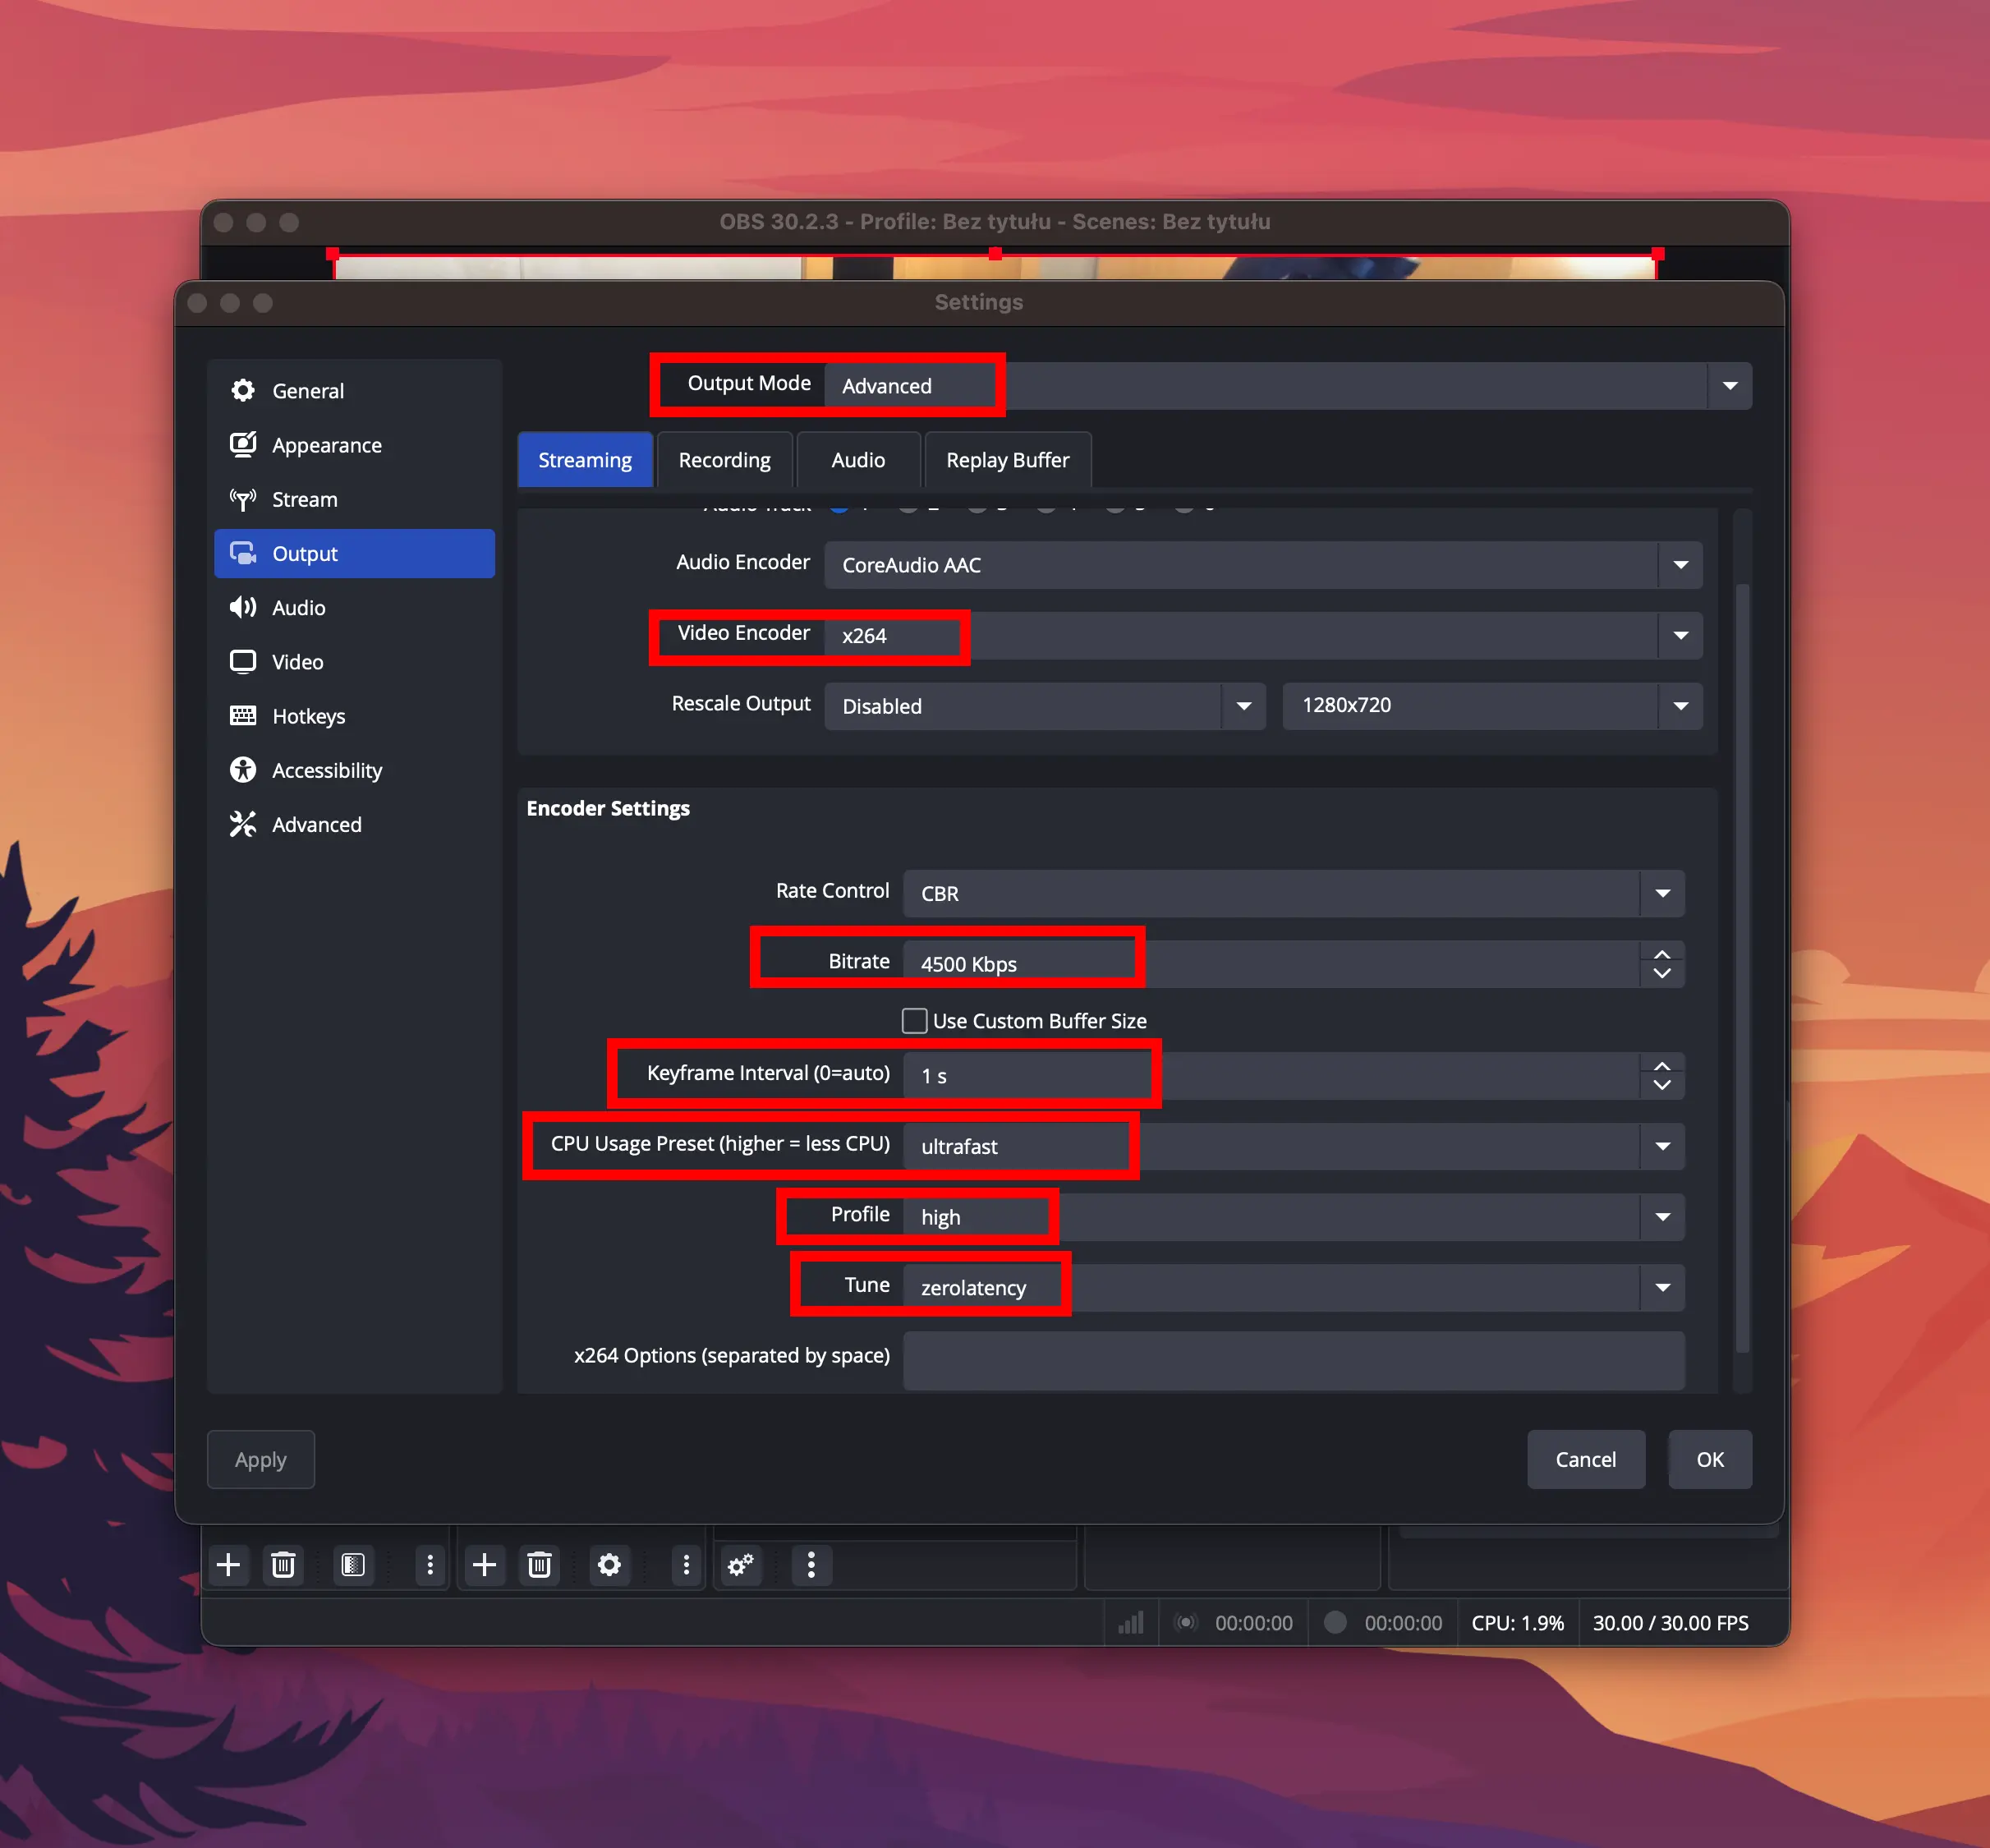
The zerolatency tune and a 1-second keyframe interval are essential for achieving the lowest possible latency. Higher bitrates will improve image quality but require more bandwidth.
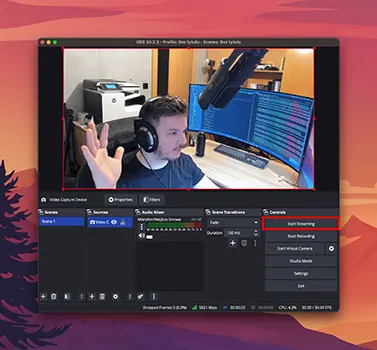
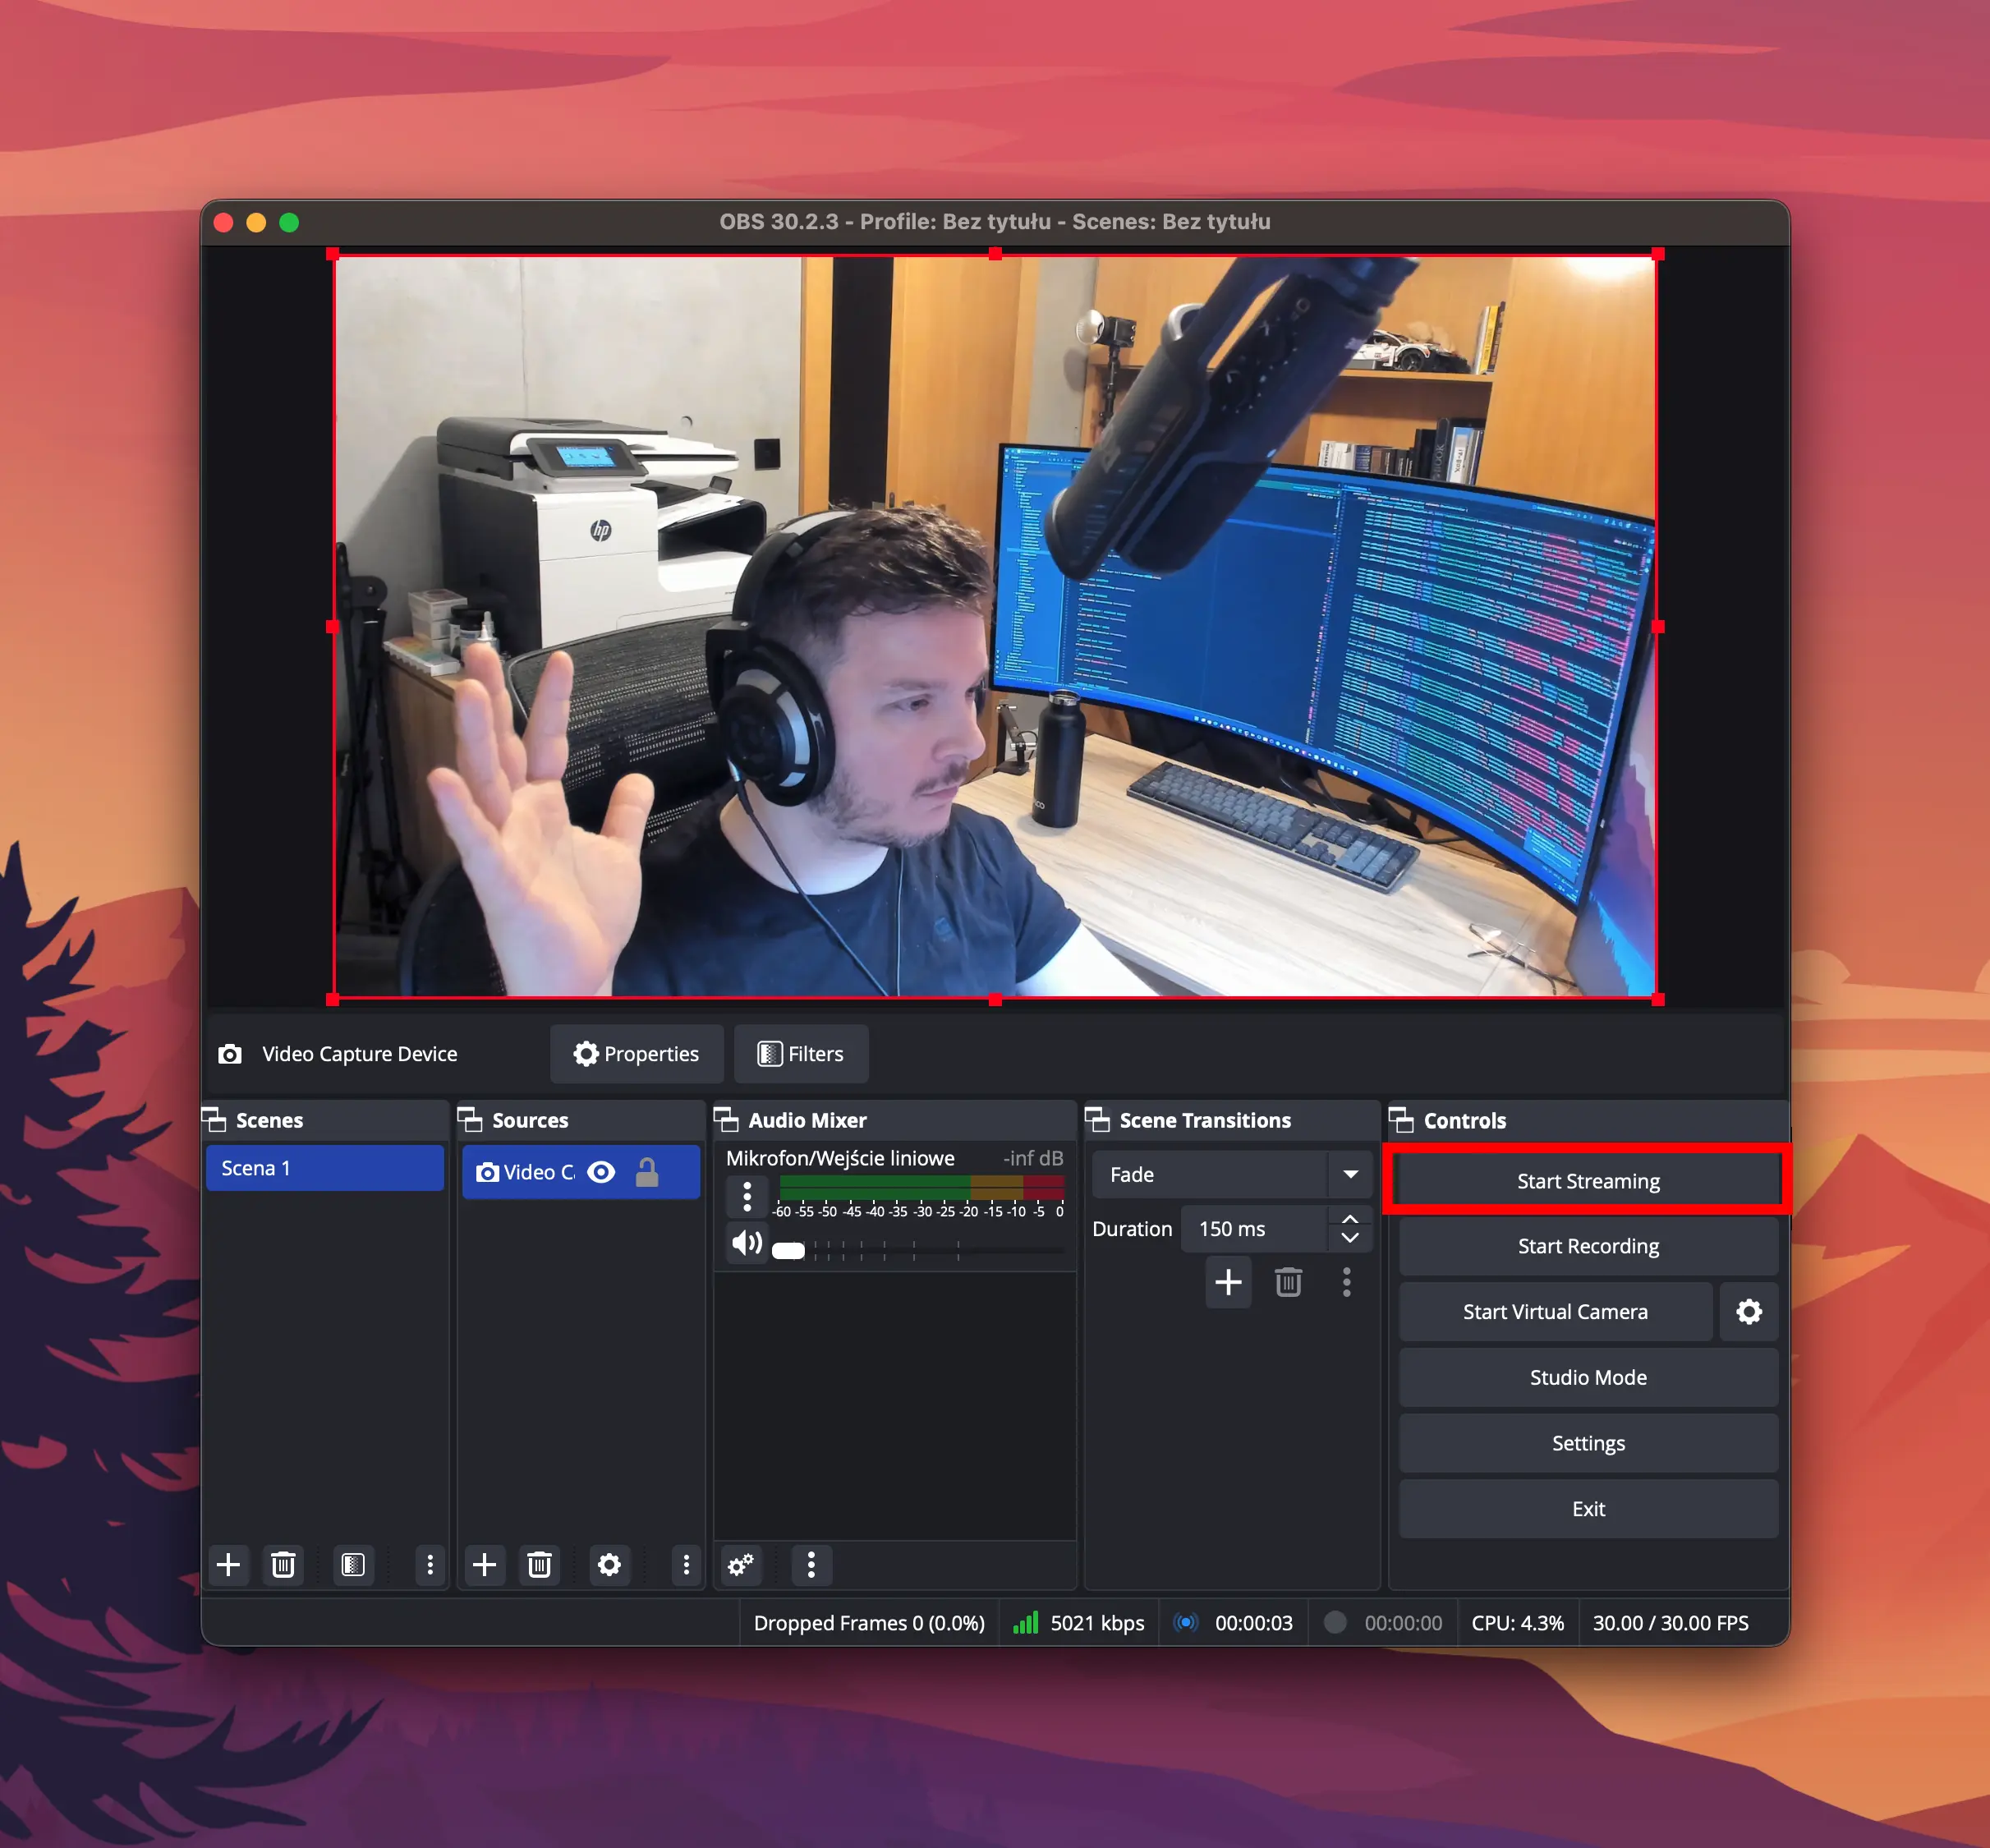
Return to the main OBS window and click Start Streaming. After a second, a live preview should appear on the stream's detail page in the Storm Control Panel.
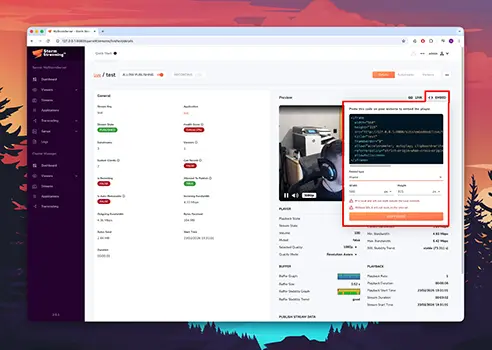
Embedding the Player
If your server is configured with an external domain and an SSL certificate, you can easily embed the player on any website. On the stream's detail page in the Control Panel, select the Embed option. Both an iframe snippet and a JavaScript integration are available.

Now that your first stream is running, explore the full Server Configuration to fine-tune your setup, or learn about Clustering to scale your infrastructure across multiple servers.
If you have any questions or need assistance, please create a support ticket and our team will help you.